
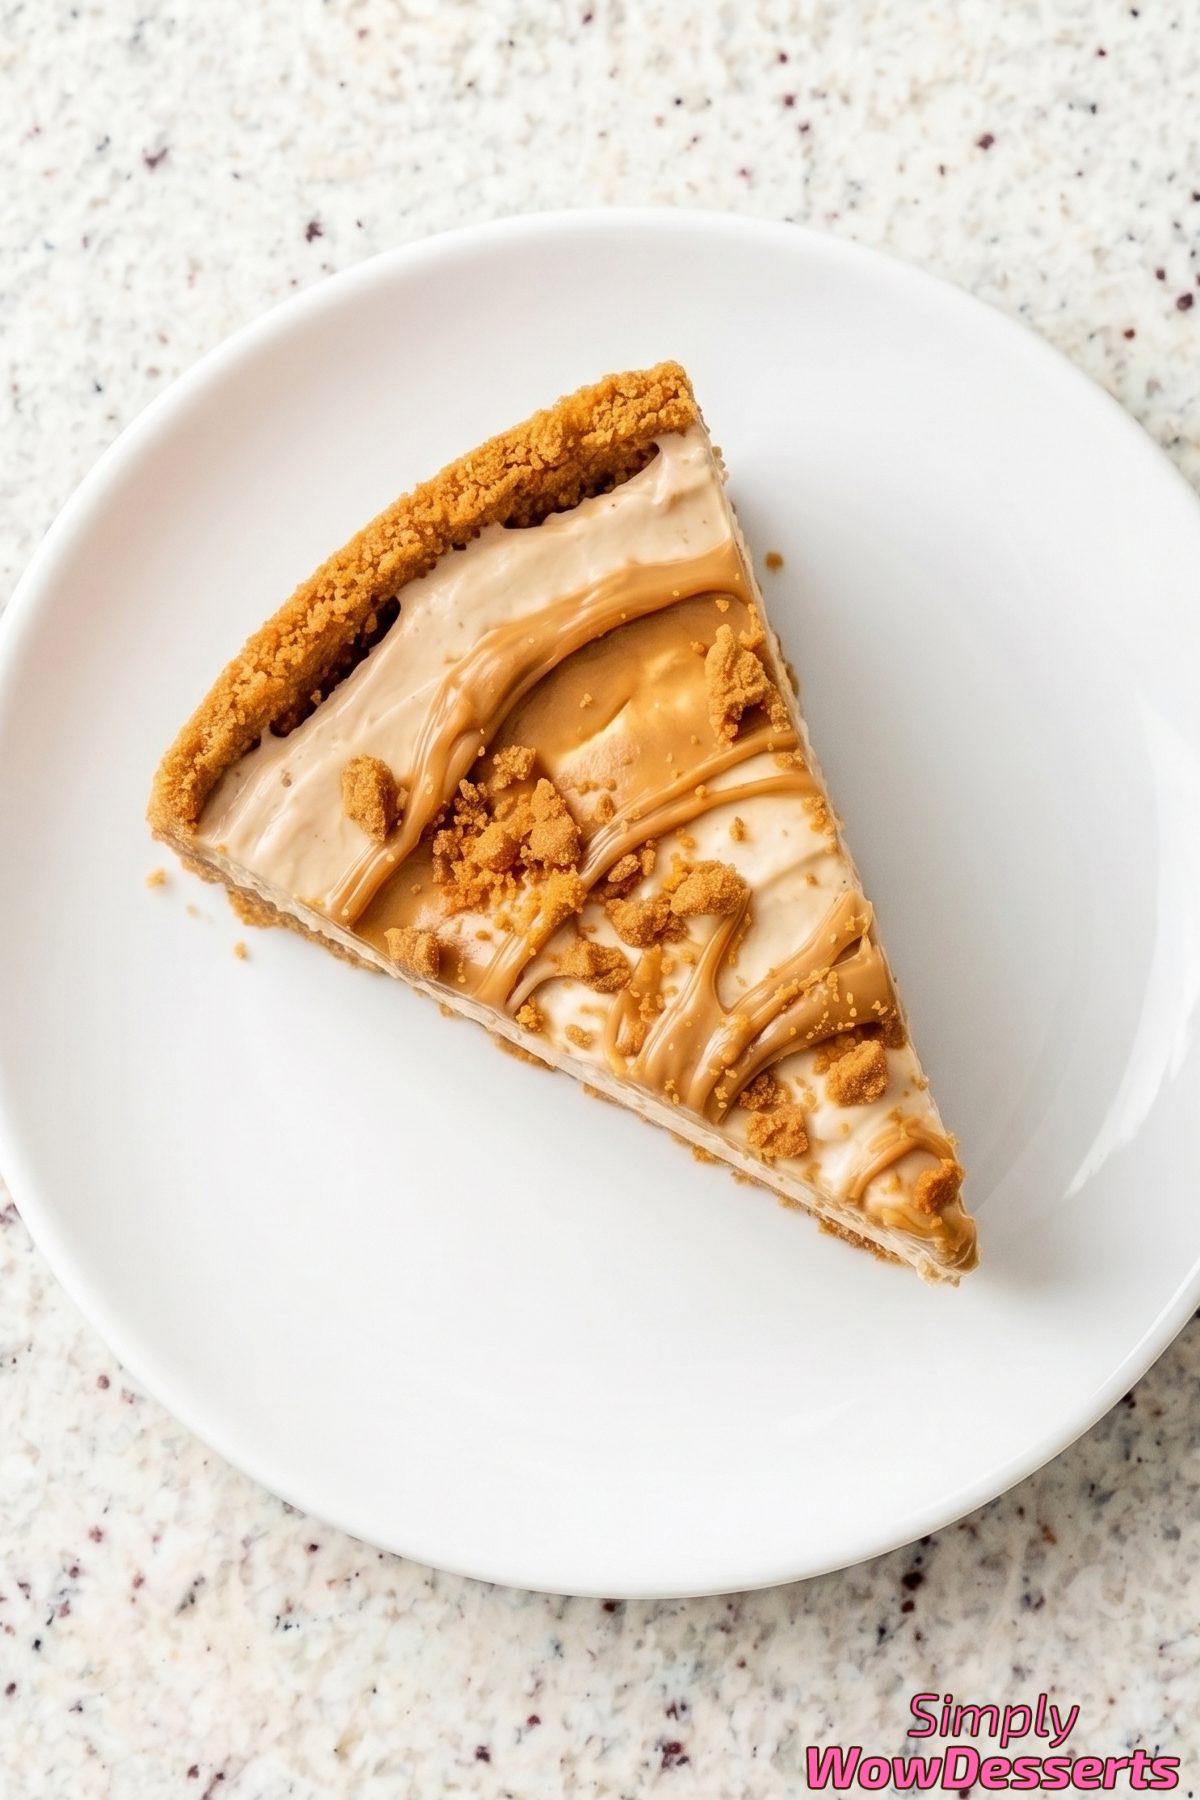
This no-bake biscoff cheesecake is one of my favorite desserts to make. It’s creamy, rich, and has that warm caramelized cookie flavor in every single bite.
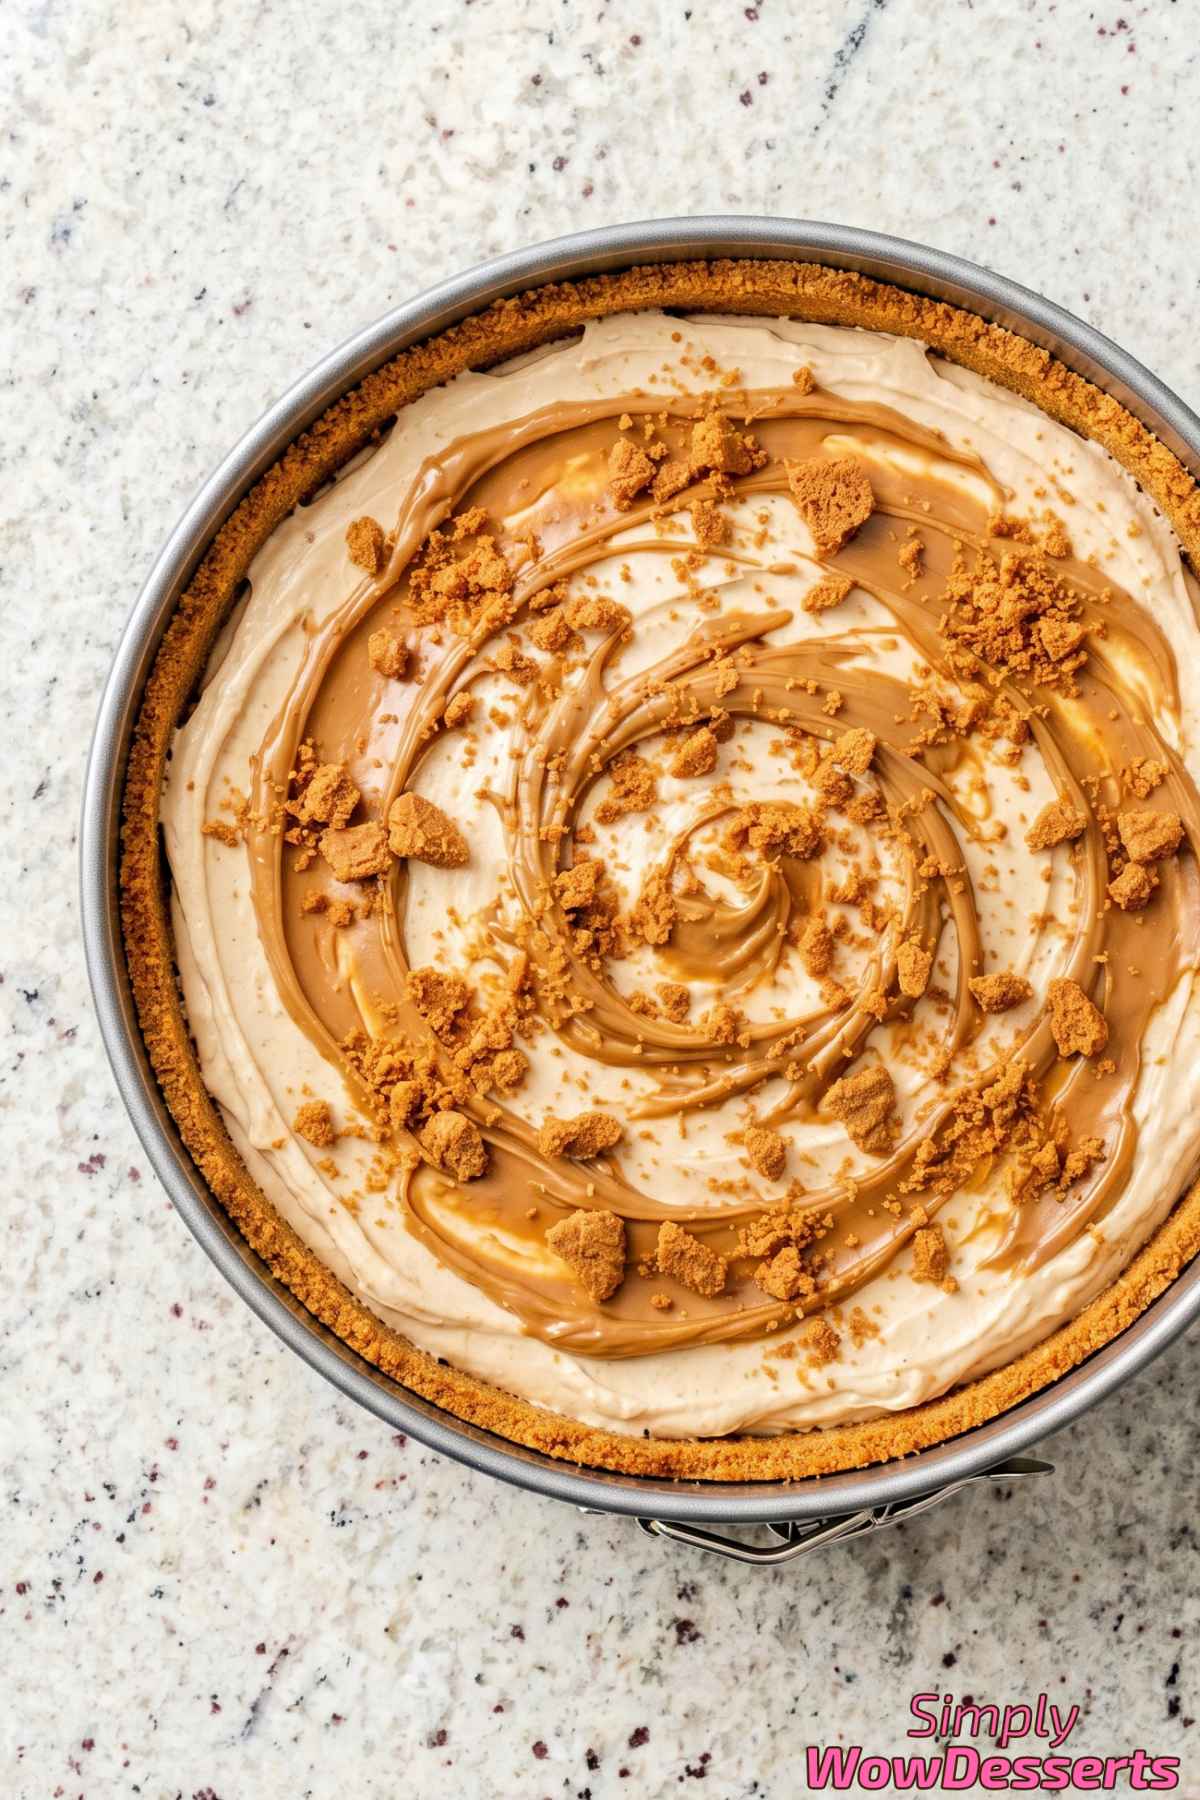
The best part? You don’t even need to turn on your oven. Everything comes together with just a few steps, and then the fridge does the rest of the work for you.
If you’re a fan of cookie butter, you’re going to love this. It’s mixed right into the filling and drizzled on top, so you get that biscoff flavor throughout the whole cheesecake.
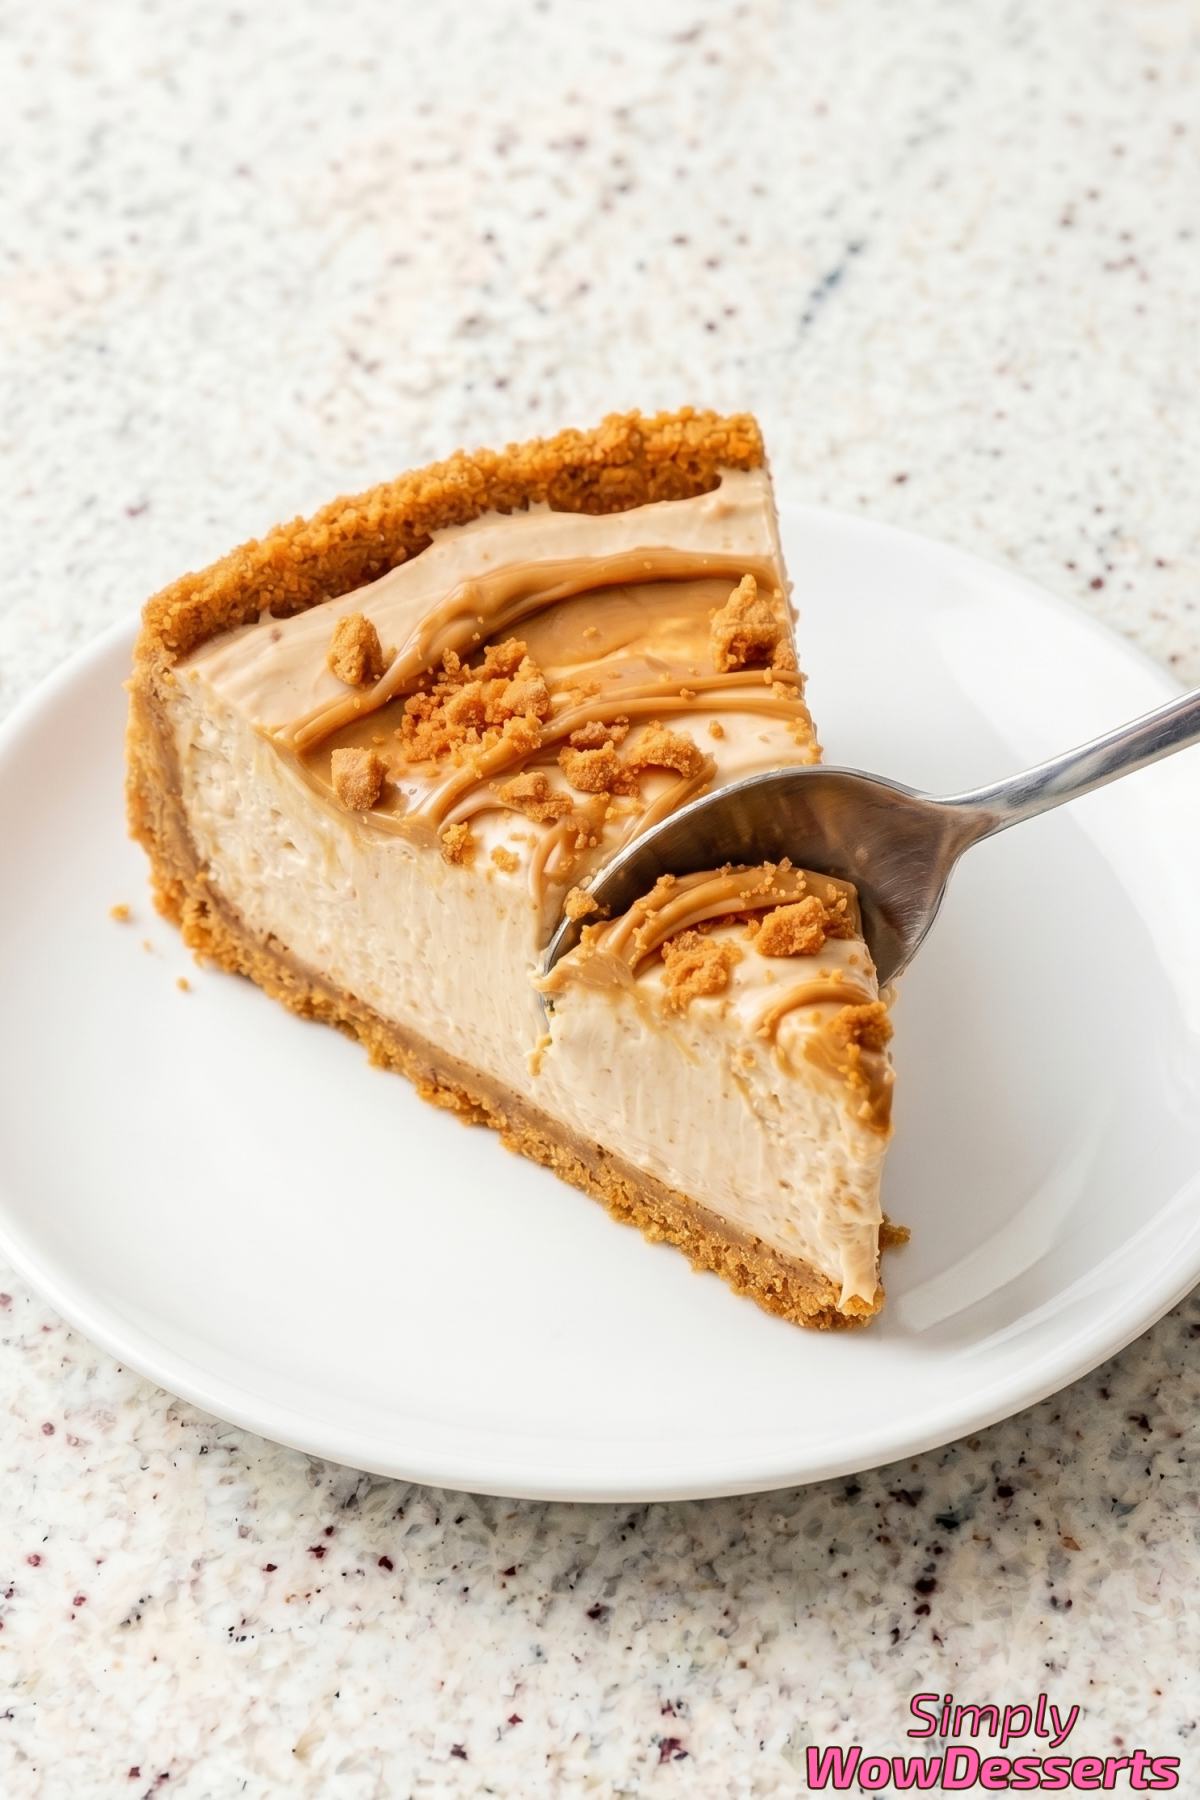
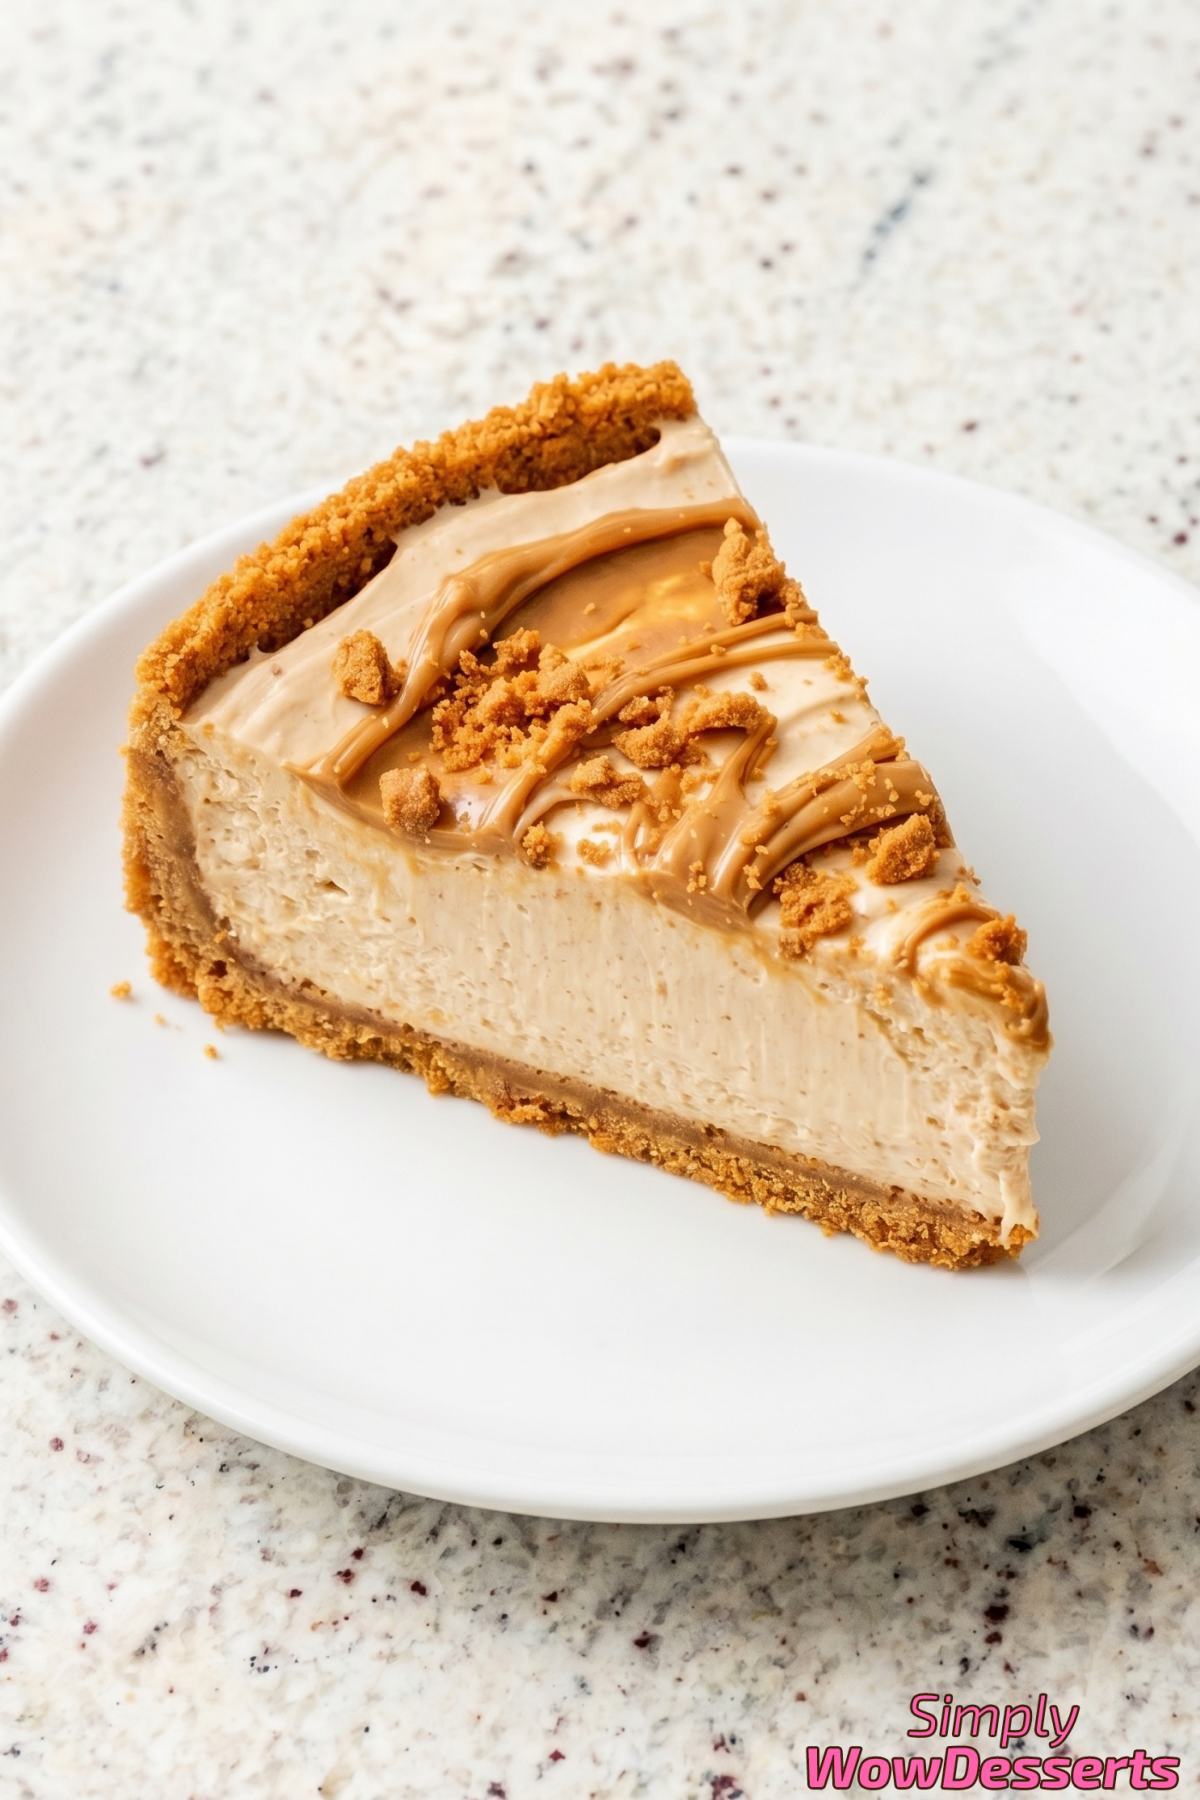
The texture is incredibly smooth and light. It’s not dense or heavy like a baked cheesecake – it’s more like a mousse sitting on a crunchy cookie crust.
Whether you’re making it for a birthday, a dinner party, or just because you want something special, this one always impresses. And it’s way easier than it looks.
Why You’ll Love It
The Crust Is a Cookie, Not a Cracker – Using crushed Biscoff cookies instead of plain graham crackers gives you a buttery, warmly spiced crust that actually complements the filling instead of just holding it together.
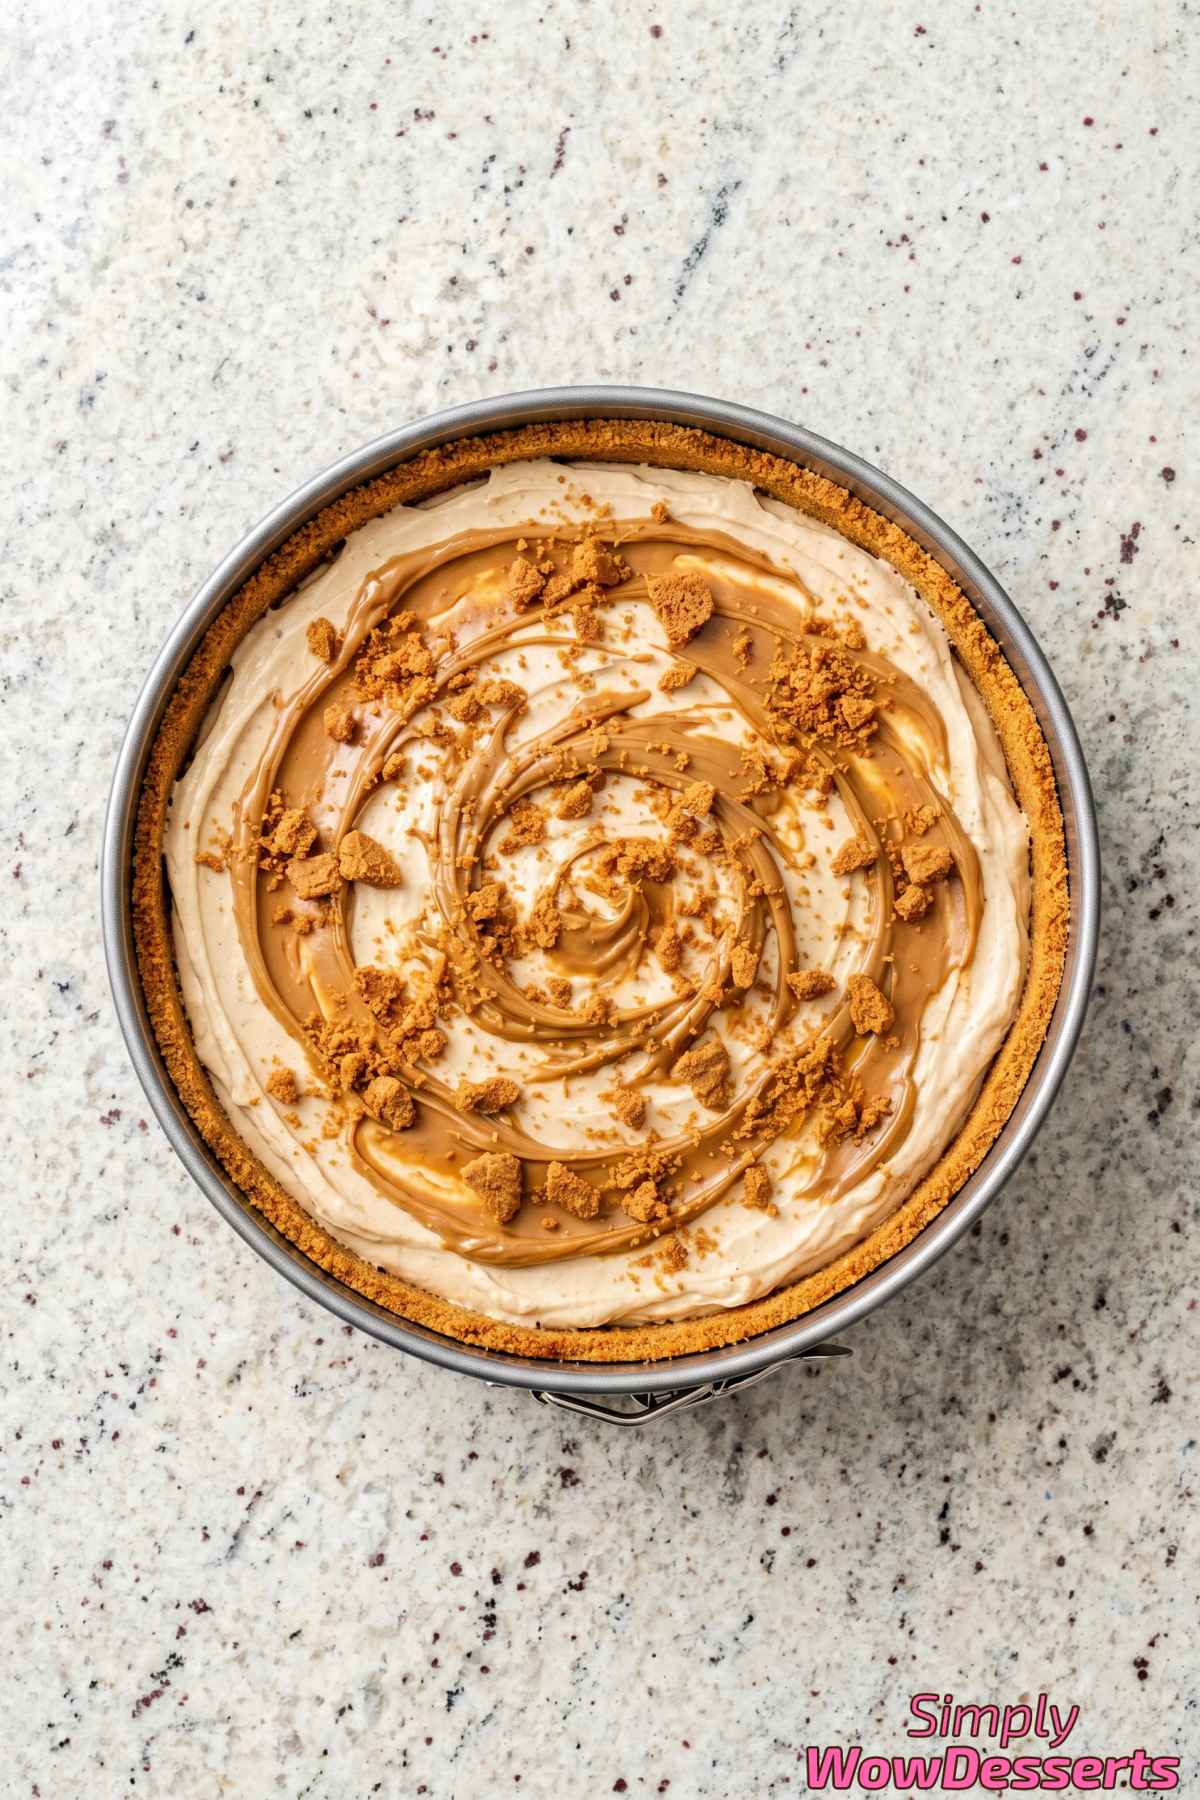
That Cookie Butter Flavor Is Unreal – Biscoff cookie butter has that warm, caramelized, almost cinnamon-spice flavor that turns a regular cheesecake into something ridiculously addictive, and it shows up in the crust, the filling, and the topping.
Light and Mousse-Like Texture – Because the filling is made with whipped cream folded into cream cheese instead of being baked with eggs, you get this incredibly airy, melt-in-your-mouth texture that feels lighter than a traditional cheesecake.
Recipe Ingredients
For the Crust
- 2 1/2 cups Biscoff Cookies (crushed, about 25 cookies)
- 6 tbsp Unsalted Butter (melted)
- 1 pinch Fine Salt
For the Filling
- 24 oz Cream Cheese (softened)
- 1 cup Powdered Sugar
- 3/4 cup Biscoff Cookie Butter (creamy)
- 2 tsp Vanilla Extract
- 1 3/4 cups Heavy Cream
For the Topping
- 1/4 cup Biscoff Cookie Butter (melted)
- 4 Biscoff Cookies (for garnish)
Directions
Step 1
Combine the crushed biscoff cookies, melted butter, and salt in a bowl and stir until evenly moistened. Press the mixture firmly into the bottom and about 1 inch up the sides of a 9-inch springform pan. Freeze the crust for 15 minutes while you prepare the filling.
Step 2
Beat the softened cream cheese in a large bowl with an electric mixer on medium speed until completely smooth and creamy, about 3 minutes. Scrape down the sides of the bowl as needed.
Step 3
Add the powdered sugar, biscoff cookie butter, and vanilla extract to the cream cheese. Beat on medium speed until fully combined and silky smooth, about 2 minutes.
Step 4
In a separate chilled bowl, whip the heavy cream with the electric mixer on high speed until stiff peaks form, about 3 to 4 minutes.
Step 5
Gently fold the whipped cream into the cream cheese mixture in three additions, using a large spatula with slow sweeping motions to keep the filling light and airy.
Step 6
Pour the filling into the prepared crust and smooth the top with an offset spatula. Drizzle the melted biscoff cookie butter over the surface and use a toothpick to create decorative swirls. Crumble the remaining biscoff cookies over the top.
Step 7
Cover loosely and refrigerate for at least 6 hours or overnight until fully set. Release the springform ring, slice, and serve chilled.
My Tips
Make Sure the Cream Cheese Is Actually Soft
This is the single biggest thing that can mess up your cheesecake. The cream cheese needs to sit out on the counter for at least an hour before you start. It should be very soft when you press it with your finger.
If it’s still cold in the middle, you’ll get lumps in your filling that no amount of beating will fix. A lumpy no-bake cheesecake filling never really smooths out the way a baked one can.
If you forgot to take it out early, cut each block into chunks and spread them on a plate. They’ll soften up in about 20 to 30 minutes that way.
Press the Crust Down Really Firmly
A loose crust will crumble apart the second you try to slice the cheesecake. Use the flat bottom of a measuring cup or a glass to press the crumbs down hard into the bottom of the pan.
For the sides, use the back of a spoon and press the crumbs against the wall of the springform pan in an upward motion. You want it packed tight so it holds together like a solid shell.
Don’t skip the 15 minutes in the freezer either. That time lets the butter firm up and lock everything in place before the filling goes in.
Chill the Bowl Before Whipping the Cream
Put your mixing bowl and the whisk attachment in the freezer for about 10 to 15 minutes before you whip the heavy cream. Cold equipment makes a big difference in how fast and how well the cream whips up.
If the bowl is warm, the cream can stay loose and never reach stiff peaks. You’ll end up with a filling that’s too soft and won’t set properly in the fridge.
More Recipes
- Biscoff Fudgy Brownies
- Burnt Basque Cheesecake
- Dubai Chocolate Bars
- Molten Chocolate Lava Cakes
- Tres Leches Cake
Frequently Asked Questions
Why is my cheesecake filling runny and not setting properly?
The most common reason is that the heavy cream wasn’t whipped to true stiff peaks. If the cream is under-whipped, the filling won’t have enough structure to hold its shape, even after hours in the fridge. Make sure when you lift the beaters, the cream stands straight up without flopping over.
Another reason could be that the cream cheese wasn’t fully softened before mixing, which can cause you to overbeat the mixture trying to get it smooth. Overbeating can break down the structure. Let your cream cheese sit at room temperature for about an hour before starting.
No-Bake Biscoff Cheesecake
Equipment
- springform pan
- electric mixer
- offset spatula
Ingredients
For the Crust
- 2 1/2 cups Biscoff Cookies (crushed, about 25 cookies)
- 6 tbsp Unsalted Butter (melted)
- 1 pinch Fine Salt
For the Filling
- 24 oz Cream Cheese (softened)
- 1 cup Powdered Sugar
- 3/4 cup Biscoff Cookie Butter (creamy)
- 2 tsp Vanilla Extract
- 1 3/4 cups Heavy Cream
For the Topping
- 1/4 cup Biscoff Cookie Butter (melted)
- 4 Biscoff Cookies (for garnish)
Instructions
- Combine the crushed biscoff cookies, melted butter, and salt in a bowl and stir until evenly moistened. Press the mixture firmly into the bottom and about 1 inch up the sides of a 9-inch springform pan. Freeze the crust for 15 minutes while you prepare the filling.
- Beat the softened cream cheese in a large bowl with an electric mixer on medium speed until completely smooth and creamy, about 3 minutes. Scrape down the sides of the bowl as needed.
- Add the powdered sugar, biscoff cookie butter, and vanilla extract to the cream cheese. Beat on medium speed until fully combined and silky smooth, about 2 minutes.
- In a separate chilled bowl, whip the heavy cream with the electric mixer on high speed until stiff peaks form, about 3 to 4 minutes.
- Gently fold the whipped cream into the cream cheese mixture in three additions, using a large spatula with slow sweeping motions to keep the filling light and airy.
- Pour the filling into the prepared crust and smooth the top with an offset spatula. Drizzle the melted biscoff cookie butter over the surface and use a toothpick to create decorative swirls. Crumble the remaining biscoff cookies over the top.
- Cover loosely and refrigerate for at least 6 hours or overnight until fully set. Release the springform ring, slice, and serve chilled.