
If you love the classic blondie but want something a little more interesting, you need to try this version with brown butter and miso.
I know miso in a dessert might sound strange. But trust me, it works. It adds a subtle salty, caramel-like flavor that pairs so well with brown sugar and brown butter.
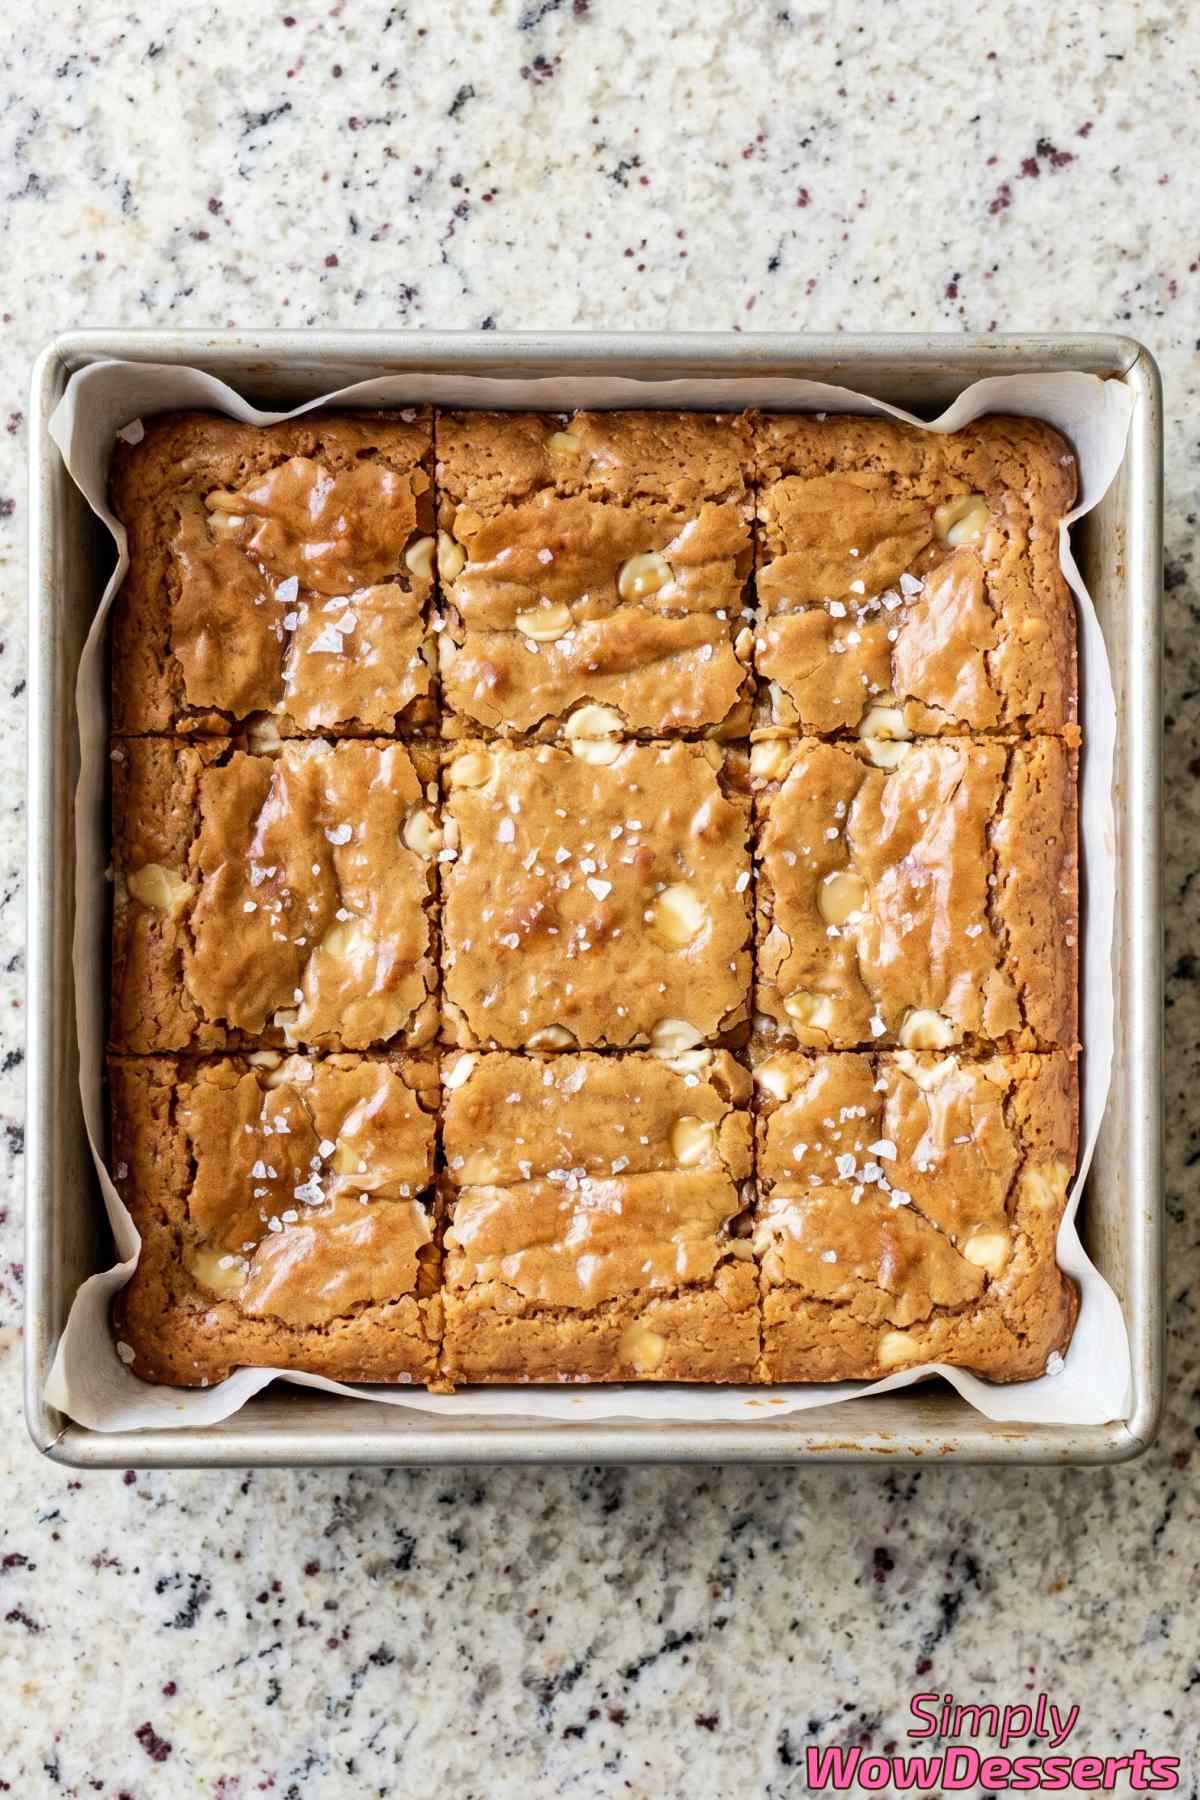
The batter comes together quickly in one bowl, and you don’t need any special equipment. A whisk, a spatula, and a baking pan are all you need.
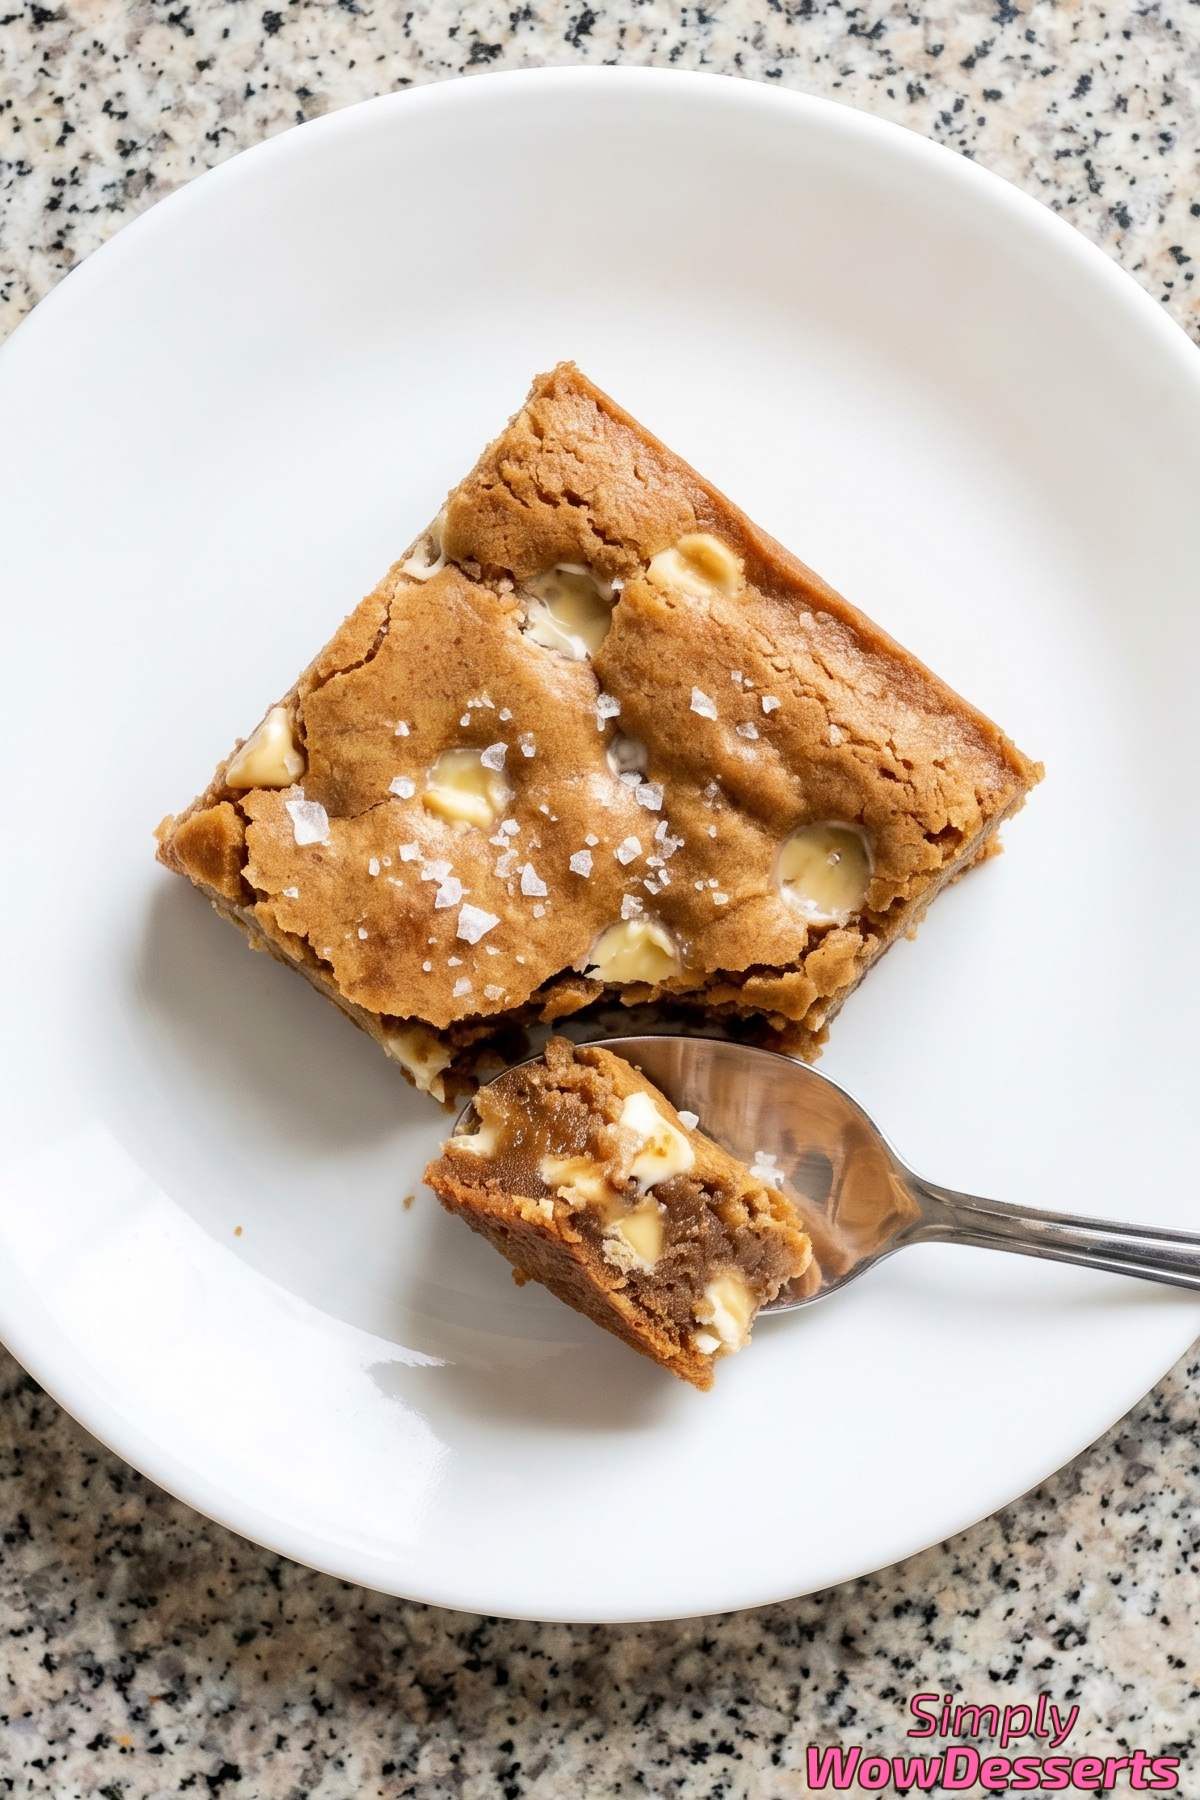
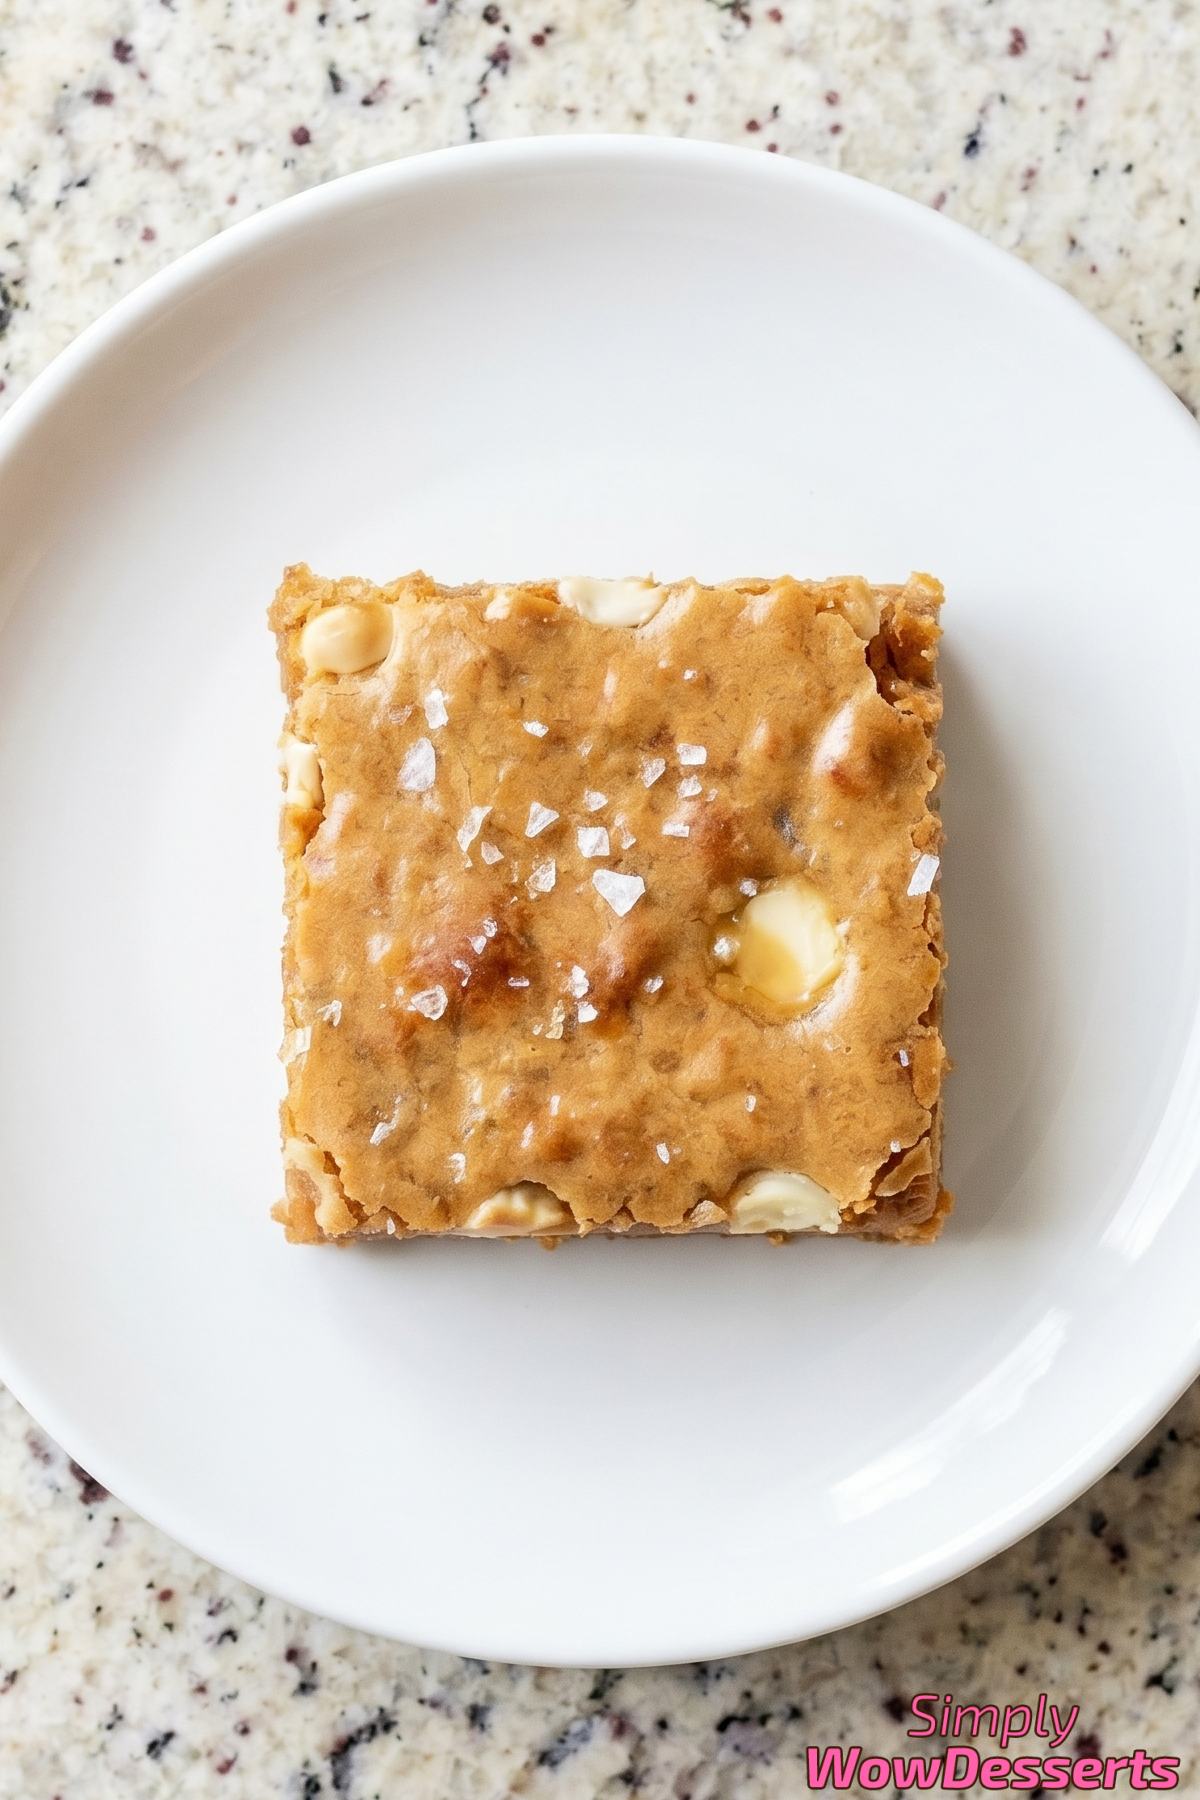
These come out chewy, rich, and perfectly sweet with just the right amount of salt from the miso and the flaky sea salt on top.
They’re great for sharing, but honestly, you might want to keep the whole batch for yourself.
Why You’ll Love It
Brown Butter Changes Everything – Browning the butter adds a deep nutty caramel flavor that regular melted butter just cannot match.
Miso Is the Secret Weapon – A little white miso paste adds a salty savory depth that makes these blondies taste complex and addictive.
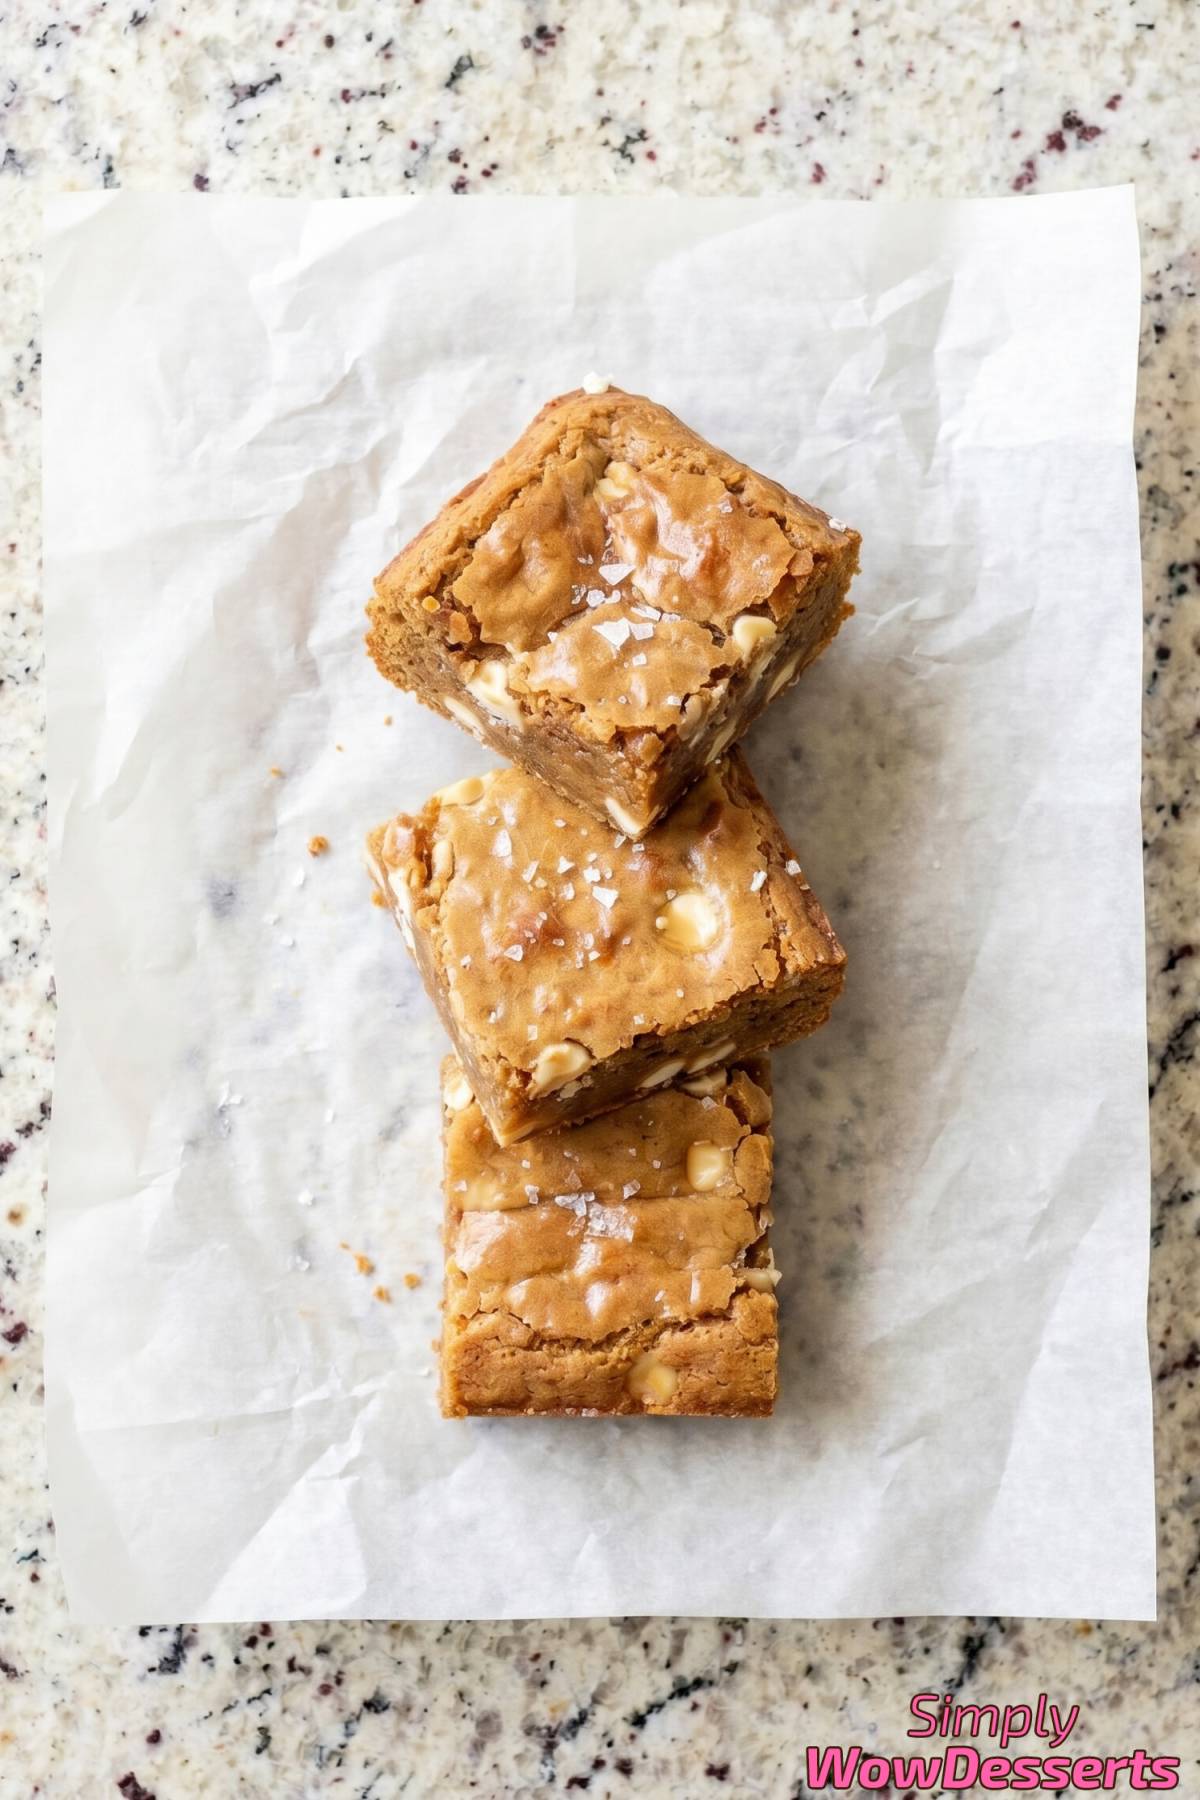
Sweet and Salty Done Right – The flaky sea salt on top paired with white chocolate chips creates the perfect sweet-salty bite every single time.
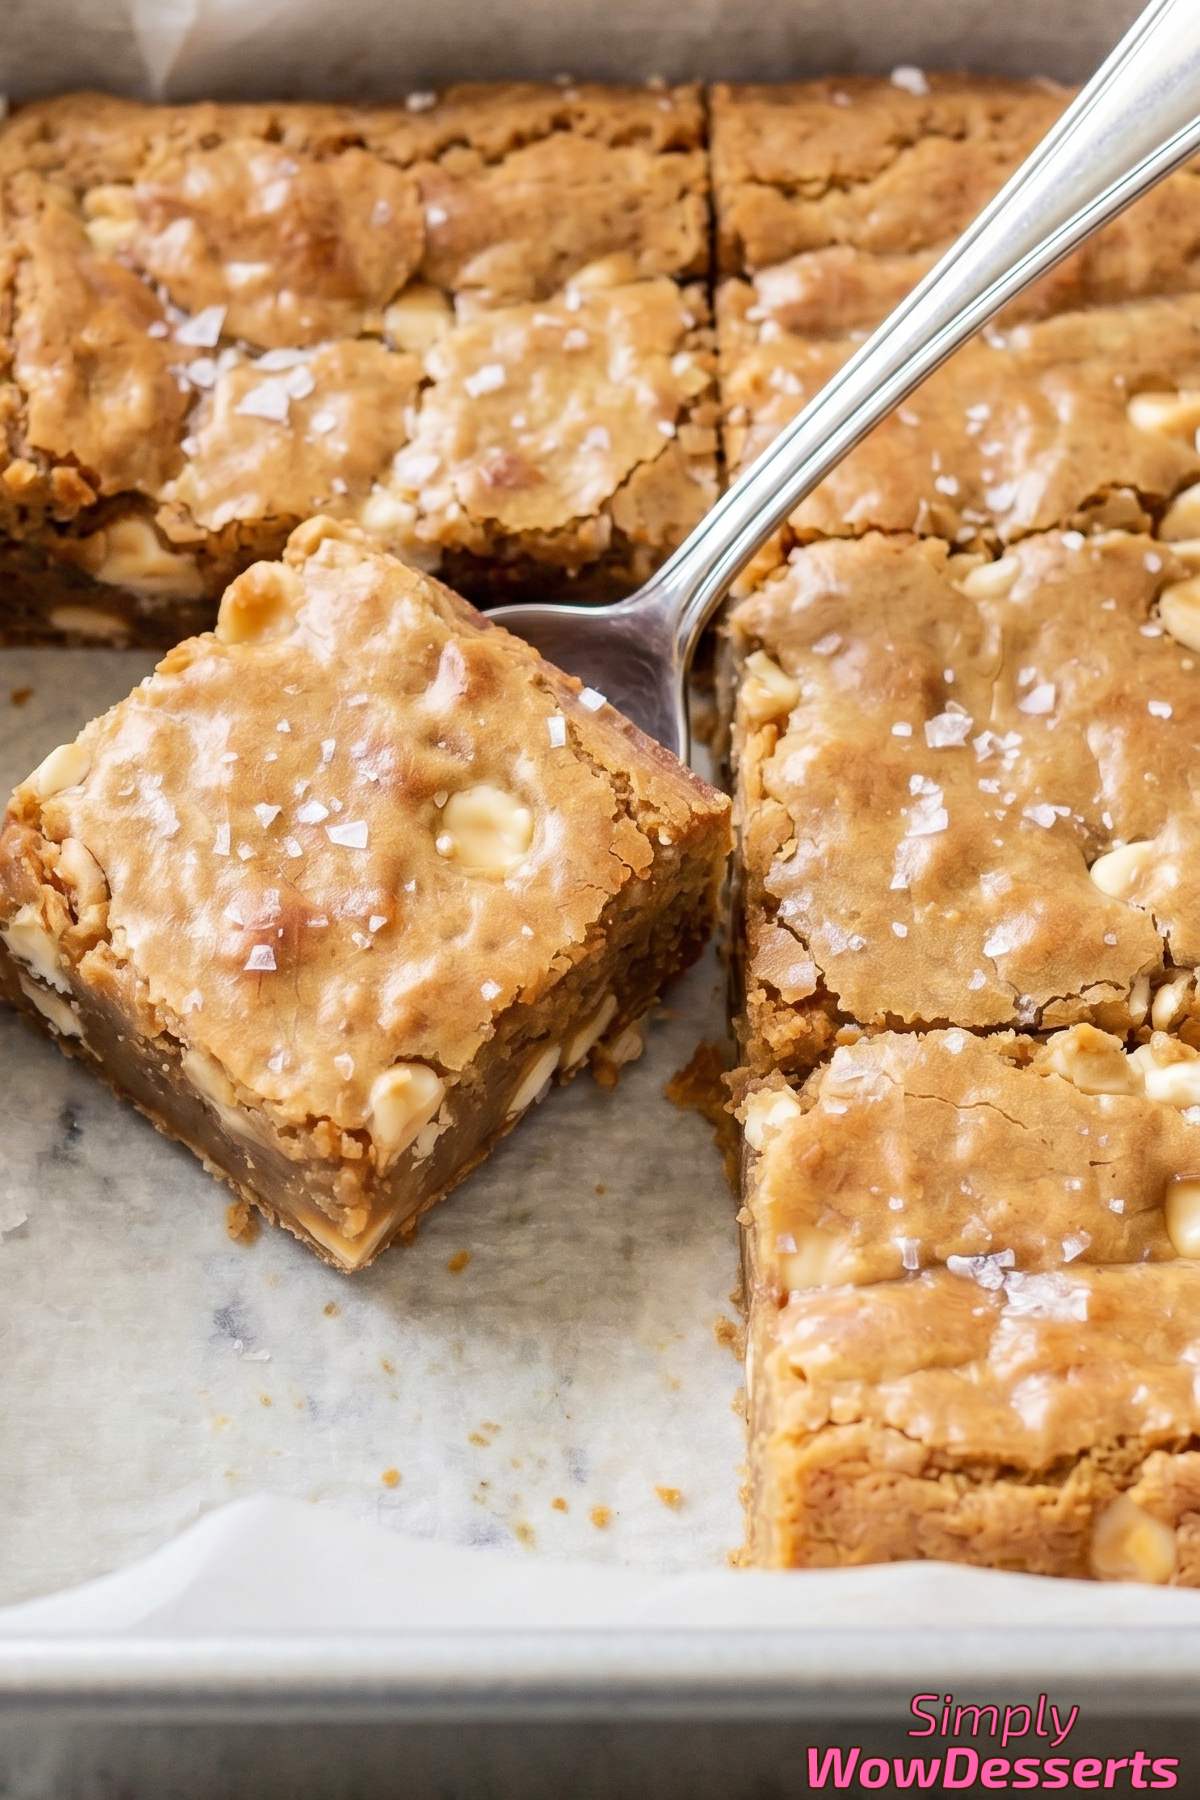
Chewy Fudgy Center – Pulling them out with a slight jiggle means you get that dense chewy center that blondie lovers dream about.
Recipe Ingredients
- 1/2 cup Unsalted Butter
- 1 cup Light Brown Sugar, packed
- 1 Large Egg
- 1 Large Egg Yolk
- 2 tbsp White Miso Paste
- 1 tsp Vanilla Extract
- 1 cup All-Purpose Flour
- 1/2 tsp Baking Powder
- 1/4 tsp Salt
- 1/2 cup White Chocolate Chips
- Flaky Sea Salt for topping
Directions
Step 1
Preheat your oven to 325F. Line an 8×8 inch baking pan with parchment paper and lightly grease the sides.
Step 2
In a light-colored saucepan, melt the butter over medium heat. Continue cooking, swirling the pan occasionally, until the butter turns golden brown and smells nutty, about 4 to 5 minutes. Watch carefully to avoid burning. Remove from heat and let it cool for 5 minutes.
Step 3
Pour the brown butter into a large bowl. Add the brown sugar and whisk until smooth. Add the egg, egg yolk, miso paste, and vanilla extract, then whisk vigorously until the mixture is thick and glossy, about 1 minute.
Step 4
Add the flour, baking powder, and salt to the bowl. Fold gently with a spatula until just combined with no dry streaks remaining. Fold in the white chocolate chips.
Step 5
Spread the batter evenly into the prepared pan. Sprinkle a generous pinch of flaky sea salt over the top.
Step 6
Bake for 22 to 25 minutes, until the edges are set and the center has the slightest jiggle. The blondies will firm up as they cool. Let them cool in the pan for at least 30 minutes before slicing.
My Tips
Use a Light-Colored Pan for the Brown Butter
This is the most important step in the whole recipe. If you use a dark pan, you won’t be able to see the butter changing color and you’ll probably burn it without realizing.
With a light-colored saucepan, you can clearly see the butter go from yellow to golden to brown. You’re looking for a warm amber color with little brown specks at the bottom. Once you see that and smell a nutty aroma, pull it off the heat right away.
The butter keeps cooking even after you remove it from the burner, so take it off just slightly before you think it’s done.
Whisk the Miso Into the Wet Ingredients Really Well
Miso paste is thick and clumpy, so if you just stir it in lightly, you’ll end up with little pockets of salty miso in your blondies instead of that smooth, even umami flavor throughout.
When you add the miso along with the egg, egg yolk, and vanilla, whisk hard for a solid minute. You want the mixture to look completely smooth with no visible bits of miso paste left. That’s how you get that salty-sweet balance in every single bite.
Let the Brown Butter Cool Before Mixing
The recipe says to cool the butter for 5 minutes, and you really shouldn’t skip that. If you pour hot brown butter into the bowl and immediately add an egg, the heat will scramble the egg and give you a lumpy batter.
The butter should be warm but not hot. You should be able to touch the outside of the bowl without it being uncomfortable. That warmth actually helps dissolve the brown sugar, which is a good thing – you just don’t want it screaming hot.
More Recipes
- Biscoff Fudgy Brownies
- Matcha White Chocolate Cookies
- Salted Honey Butter Cake
- Strawberry Crumble Bars
Frequently Asked Questions
Can I use red miso instead of white miso paste?
You can, but white miso is recommended here because it has a milder, slightly sweet flavor that blends perfectly into a dessert like blondies. Red miso is much stronger and saltier, so it could overpower the brown butter and white chocolate.
If red miso is all you have, try using just 1 tablespoon instead of 2 and taste the batter before baking to make sure it’s not too funky.
Brown Butter Miso Blondies
Equipment
- 8x8 inch baking pan
Ingredients
- 1/2 cup Unsalted Butter
- 1 cup Light Brown Sugar, packed
- 1 Large Egg
- 1 Large Egg Yolk
- 2 tbsp White Miso Paste
- 1 tsp Vanilla Extract
- 1 cup All-Purpose Flour
- 1/2 tsp Baking Powder
- 1/4 tsp Salt
- 1/2 cup White Chocolate Chips
- Flaky Sea Salt for topping
Instructions
- Preheat your oven to 325F. Line an 8x8 inch baking pan with parchment paper and lightly grease the sides.
- In a light-colored saucepan, melt the butter over medium heat. Continue cooking, swirling the pan occasionally, until the butter turns golden brown and smells nutty, about 4 to 5 minutes. Watch carefully to avoid burning. Remove from heat and let it cool for 5 minutes.
- Pour the brown butter into a large bowl. Add the brown sugar and whisk until smooth. Add the egg, egg yolk, miso paste, and vanilla extract, then whisk vigorously until the mixture is thick and glossy, about 1 minute.
- Add the flour, baking powder, and salt to the bowl. Fold gently with a spatula until just combined with no dry streaks remaining. Fold in the white chocolate chips.
- Spread the batter evenly into the prepared pan. Sprinkle a generous pinch of flaky sea salt over the top.
- Bake for 22 to 25 minutes, until the edges are set and the center has the slightest jiggle. The blondies will firm up as they cool. Let them cool in the pan for at least 30 minutes before slicing.