
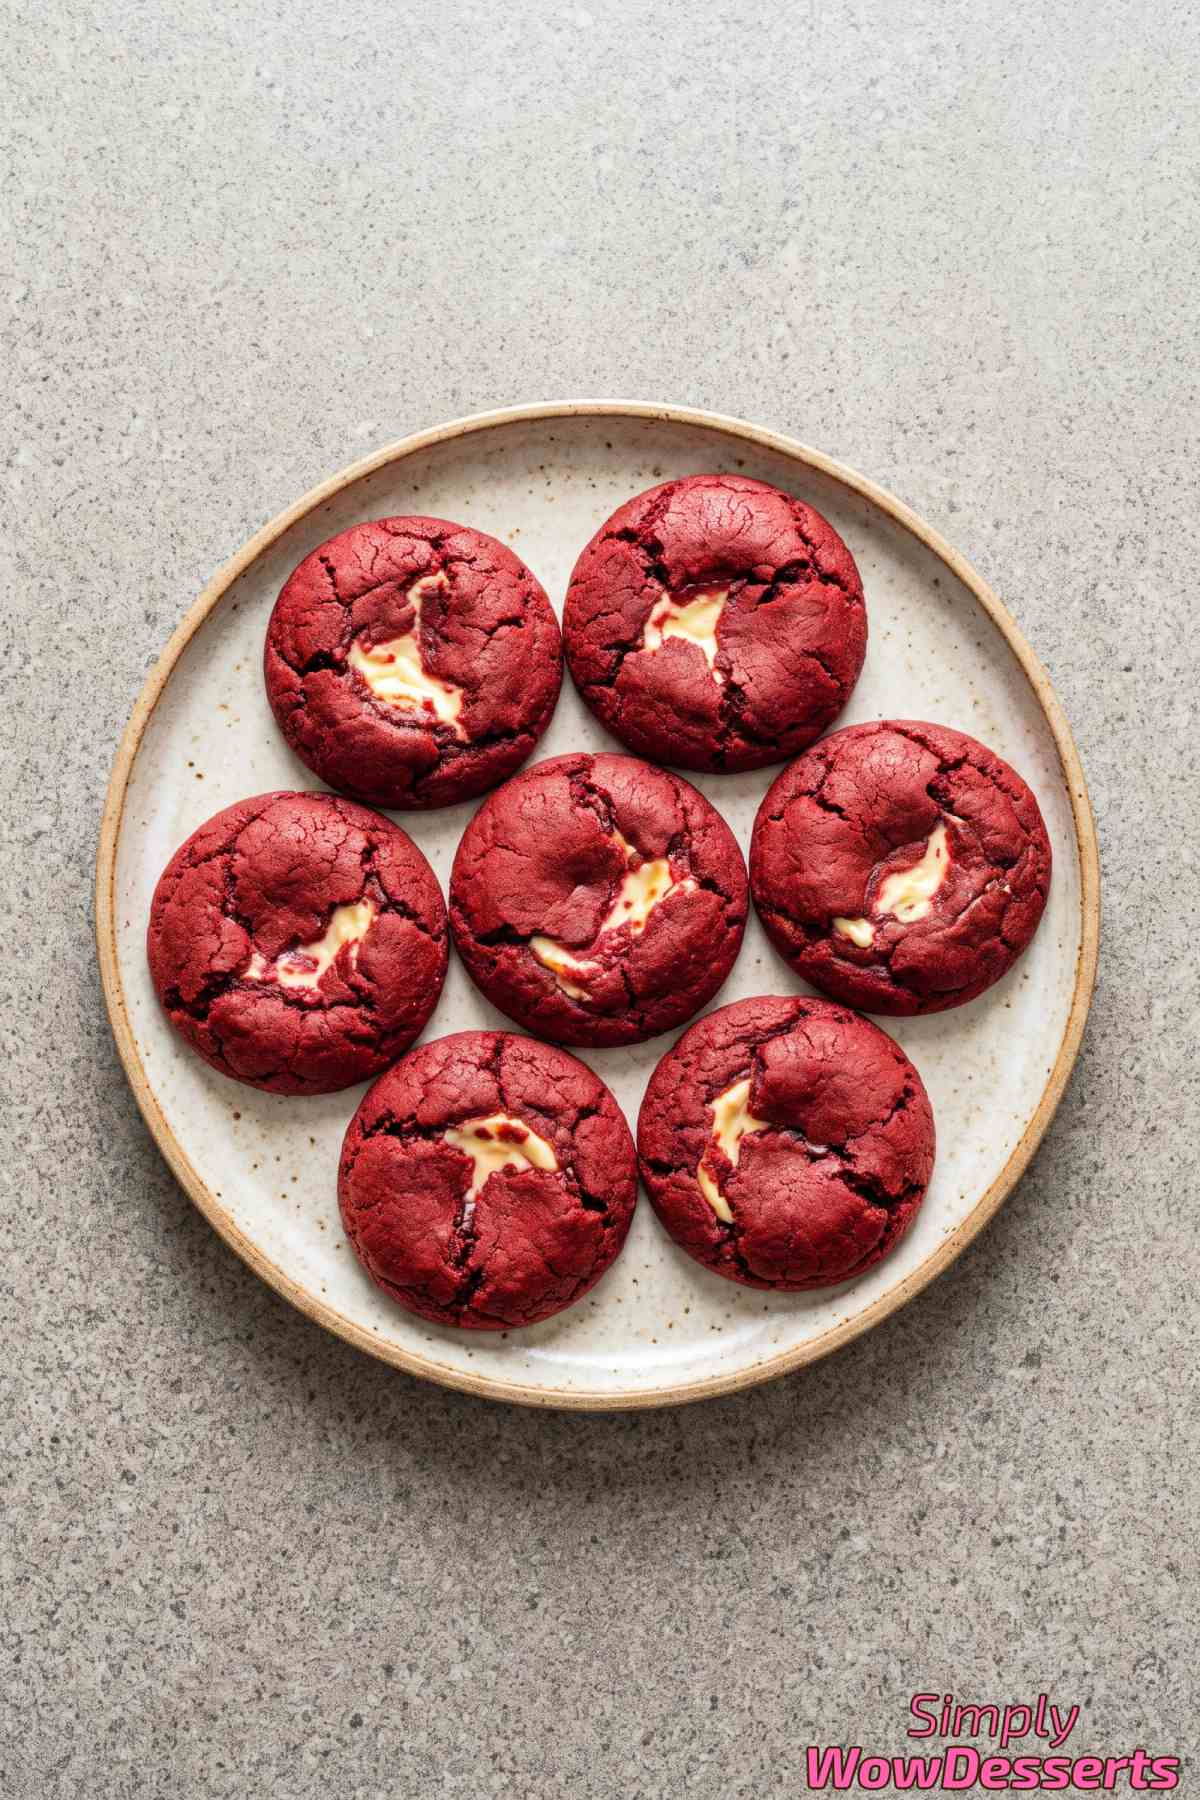
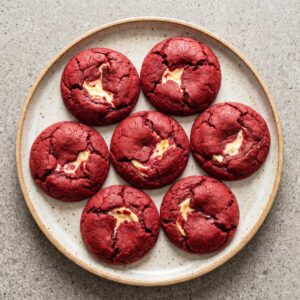
These red velvet cheesecake cookies are soft, rich, and hiding a creamy surprise right in the middle.
Each cookie has that classic red velvet flavor on the outside with a smooth cheesecake center tucked inside.
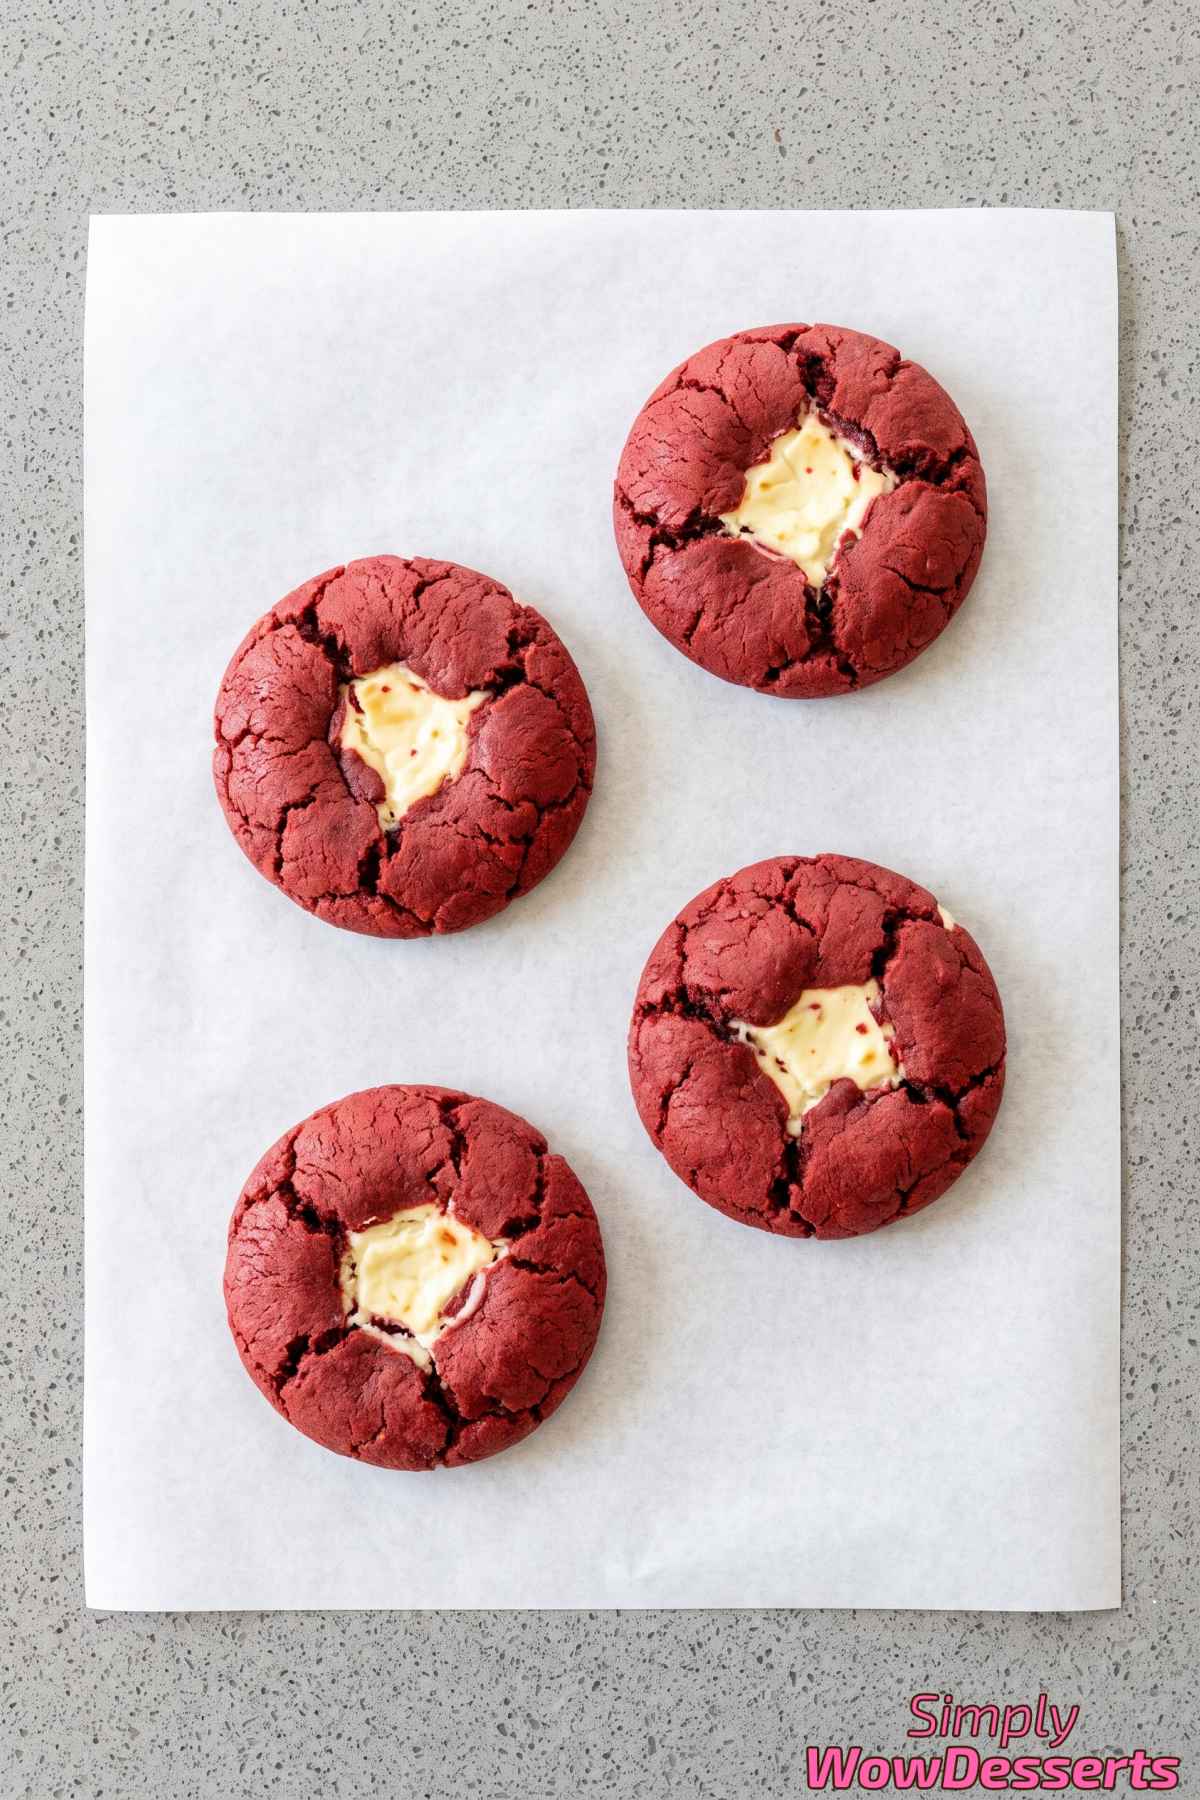
They look like a bakery treat, but they are actually pretty simple to make at home.
The trick is freezing the cheesecake filling first, so it stays creamy while the cookie bakes around it.
If you love the combo of red velvet and cream cheese, these will quickly become a favorite.
Why You’ll Love It
Two Desserts in One – Every cookie hides a creamy cheesecake center inside soft red velvet dough, so you get two favorite treats in one bite.
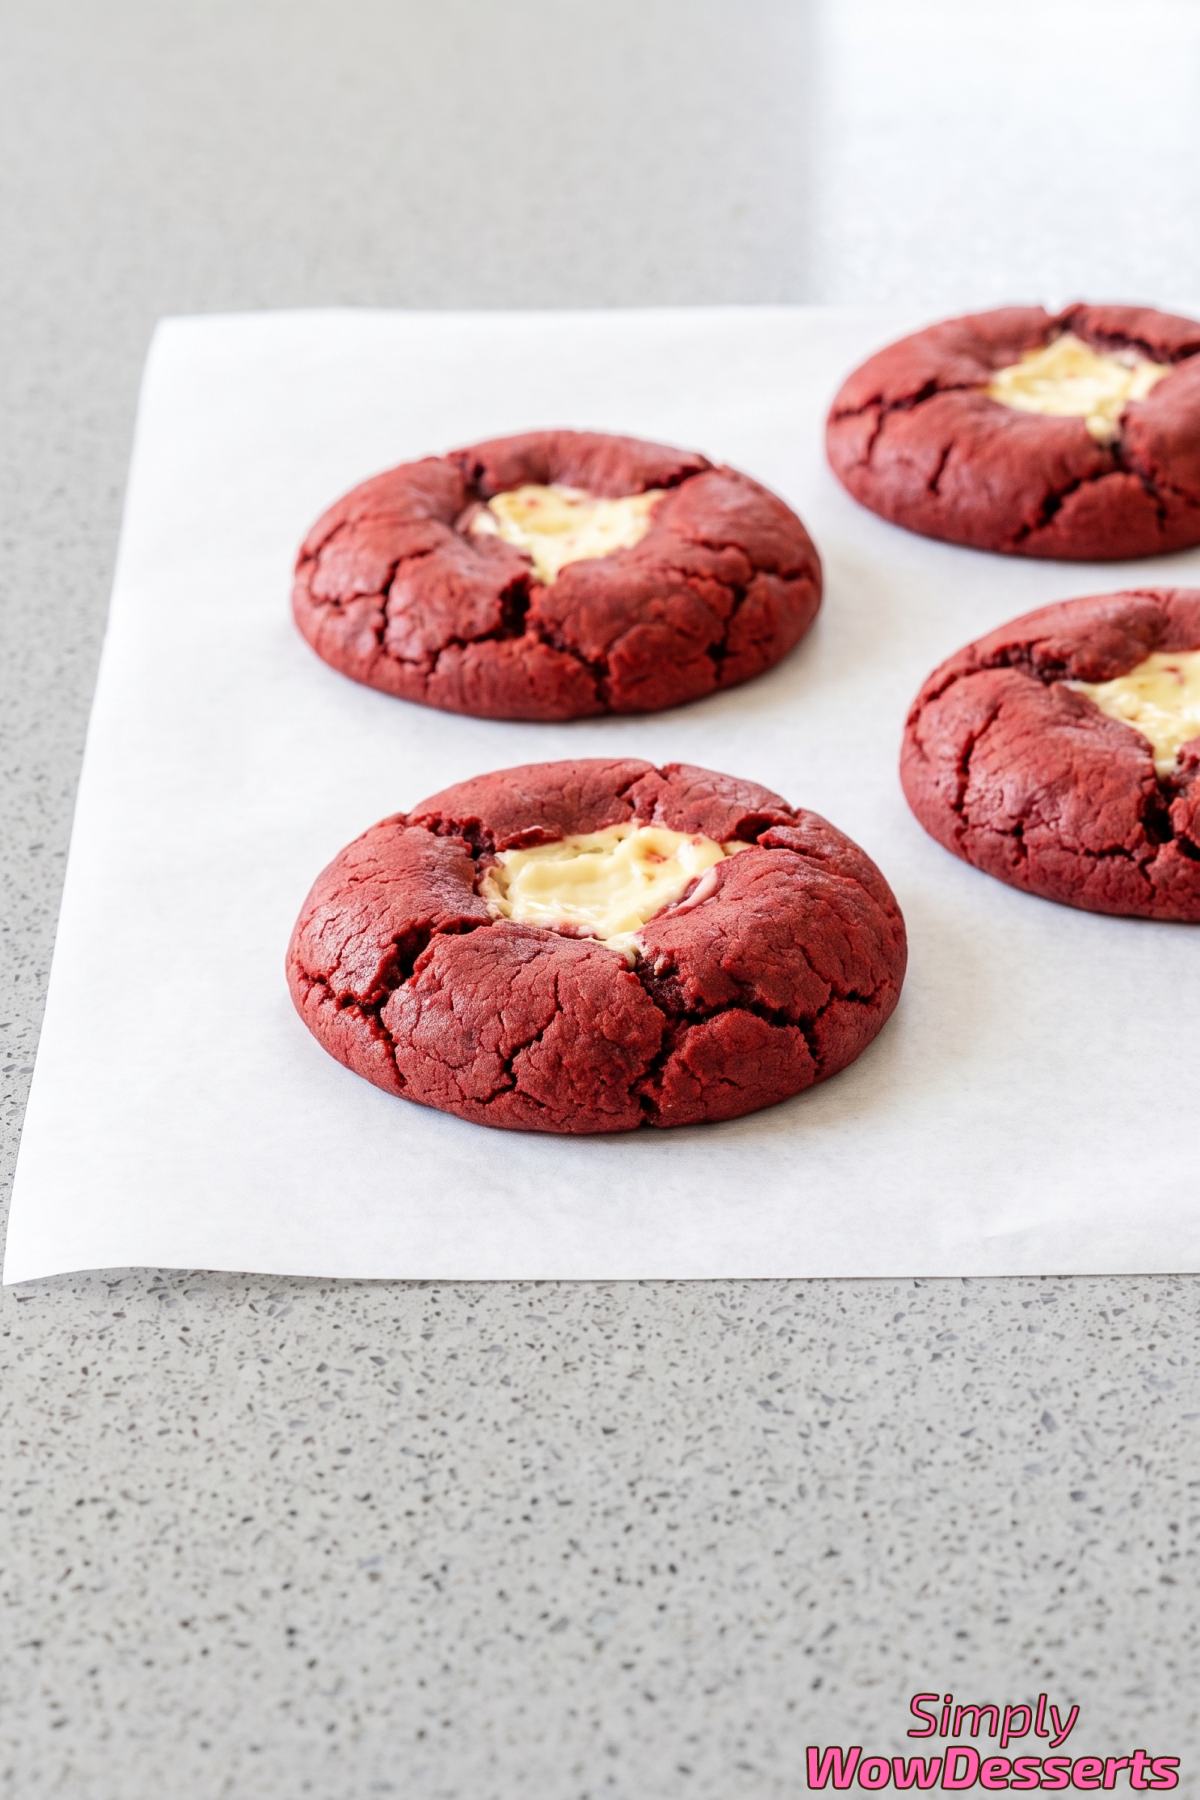
Amazing Texture – The edges stay set while the middle stays soft, and the cool cheesecake filling adds a smooth, rich surprise.
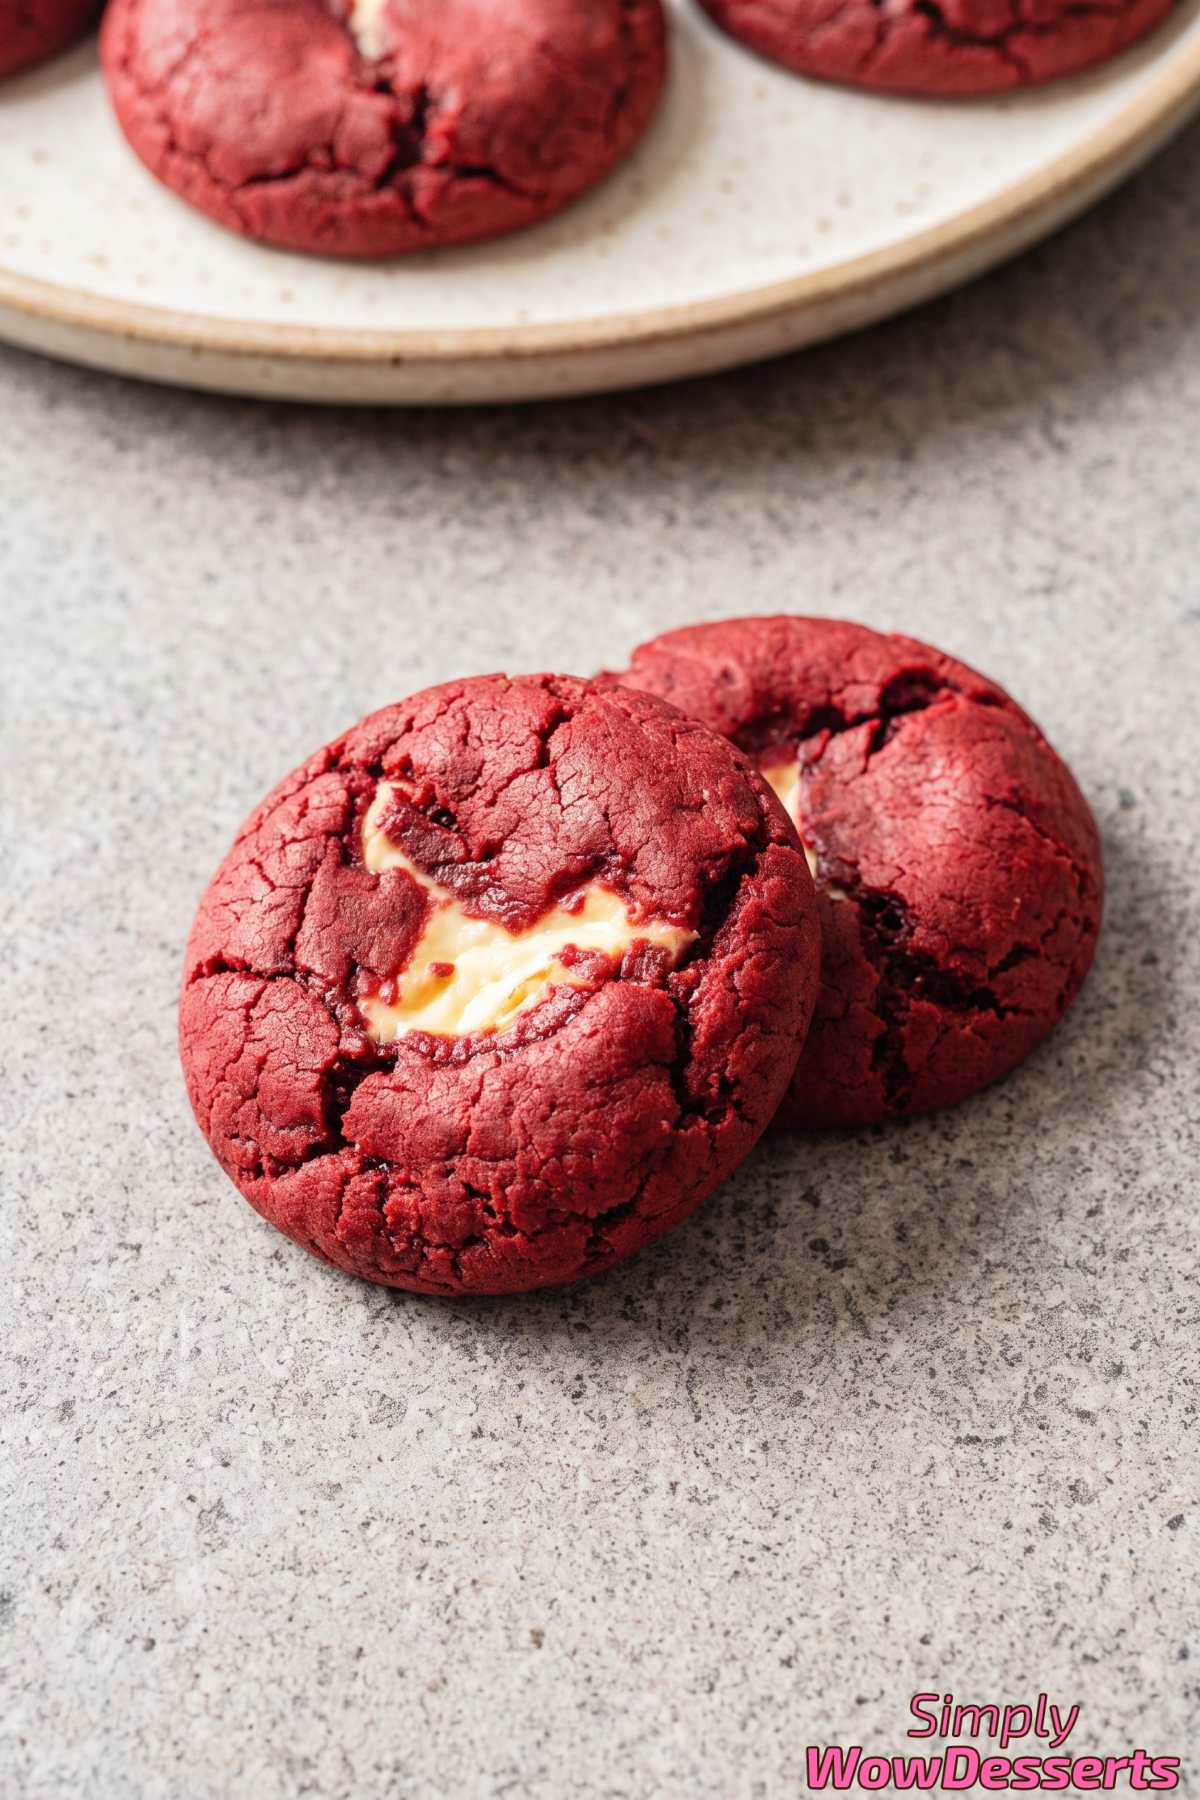
Rich Cocoa Flavor – Real cocoa powder gives these cookies that classic red velvet taste people know and love.
Bakery Quality at Home – These look and taste like something from a fancy bakery, but you make them right in your own kitchen.
Recipe Ingredients
For The Cheesecake Filling
- 6 oz Cream Cheese, Softened
- 1/3 cup Powdered Sugar
- 1/2 tsp Vanilla Extract
For The Cookie Dough
- 1/2 cup Unsalted Butter, Softened
- 3/4 cup Light Brown Sugar
- 1/4 cup Granulated Sugar
- 1 Large Egg
- 1 tsp Vanilla Extract
- 1 tsp Red Gel Food Coloring
- 1 2/3 cups All-Purpose Flour
- 1/4 cup Unsweetened Cocoa Powder
- 1 tbsp Cornstarch
- 1/2 tsp Baking Soda
- 1/2 tsp Fine Salt
Directions
Step 1
Line a plate with parchment paper. Mix the cream cheese, powdered sugar, and vanilla until smooth, then portion into 12 small mounds and freeze for 25 minutes.
Step 2
Preheat the oven to 350 F and line two baking sheets with parchment paper.
Step 3
Beat the butter, brown sugar, and granulated sugar until creamy. Mix in the egg, vanilla, and red food coloring until evenly combined.
Step 4
Whisk the flour, cocoa powder, cornstarch, baking soda, and salt in a separate bowl. Add the dry ingredients to the butter mixture and mix just until a soft dough forms.
Step 5
Divide the dough into 12 portions. Flatten each portion, place one frozen cheesecake mound in the center, and completely enclose the filling with the dough.
Step 6
Arrange the cookies at least 2 inches apart on the prepared baking sheets. Bake for 11 to 13 minutes, until the edges are set but the centers still look slightly soft.
Step 7
Let the cookies cool on the baking sheets for 10 minutes before transferring them to a cooling rack. Cool for at least 20 minutes so the cheesecake centers can set.
My Tips
Freeze the Cheesecake Mounds Fully
Those cream cheese mounds need to be firm and cold before you wrap them in dough. If they are still soft, they will squish out the sides while you try to seal them up.
From my experience, 25 minutes in the freezer is the minimum. If your kitchen is warm, give them a few extra minutes so they hold their shape when you handle them.
Seal the Dough Completely
When you wrap the dough around the frozen filling, make sure there are no cracks or gaps left. Any open spot lets the cheesecake center leak out and spread across the pan while baking.
My favorite trick here is to pinch the dough closed and then gently roll the whole thing into a smooth ball between my palms. This smooths over any thin spots so the filling stays locked inside.
Use Gel Food Coloring, Not Liquid
Gel coloring gives you that deep red shade without adding extra liquid to the dough. Liquid coloring waters things down and you would need way more of it to get the same color.
You’ll get the best results if you mix the coloring in with the wet ingredients before adding the flour. That way the red spreads evenly and you don’t end up with pale streaks in your cookies.
Keep in mind the cocoa powder darkens the dough, so add the color a little at a time until you like the shade.
More Recipes
- Carrot Cake with Cream Cheese Frosting
- Creme Brulee Cheesecake
- Brown Butter Chocolate Chip Cookies
- Strawberry Shortcake Cookies
- Lemon Meringue Cheesecake
Frequently Asked Questions
Why do I have to freeze the cheesecake filling first?
Freezing the cream cheese mounds makes them firm enough to wrap the cookie dough around without everything getting messy and sticky.
If you skip this step, the soft filling will squish out the sides and leak while baking, so the 25 minutes in the freezer really is worth the wait.
Red Velvet Cheesecake Cookies
Ingredients
For The Cheesecake Filling
- 6 oz Cream Cheese, Softened
- 1/3 cup Powdered Sugar
- 1/2 tsp Vanilla Extract
For The Cookie Dough
- 1/2 cup Unsalted Butter, Softened
- 3/4 cup Light Brown Sugar
- 1/4 cup Granulated Sugar
- 1 Large Egg
- 1 tsp Vanilla Extract
- 1 tsp Red Gel Food Coloring
- 1 2/3 cups All-Purpose Flour
- 1/4 cup Unsweetened Cocoa Powder
- 1 tbsp Cornstarch
- 1/2 tsp Baking Soda
- 1/2 tsp Fine Salt
Instructions
- Line a plate with parchment paper. Mix the cream cheese, powdered sugar, and vanilla until smooth, then portion into 12 small mounds and freeze for 25 minutes.
- Preheat the oven to 350 F and line two baking sheets with parchment paper.
- Beat the butter, brown sugar, and granulated sugar until creamy. Mix in the egg, vanilla, and red food coloring until evenly combined.
- Whisk the flour, cocoa powder, cornstarch, baking soda, and salt in a separate bowl. Add the dry ingredients to the butter mixture and mix just until a soft dough forms.
- Divide the dough into 12 portions. Flatten each portion, place one frozen cheesecake mound in the center, and completely enclose the filling with the dough.
- Arrange the cookies at least 2 inches apart on the prepared baking sheets. Bake for 11 to 13 minutes, until the edges are set but the centers still look slightly soft.
- Let the cookies cool on the baking sheets for 10 minutes before transferring them to a cooling rack. Cool for at least 20 minutes so the cheesecake centers can set.