
Butter mochi is one of those treats that surprises people the first time they try it. It has a chewy, slightly bouncy texture that is completely different from regular cake or brownies.
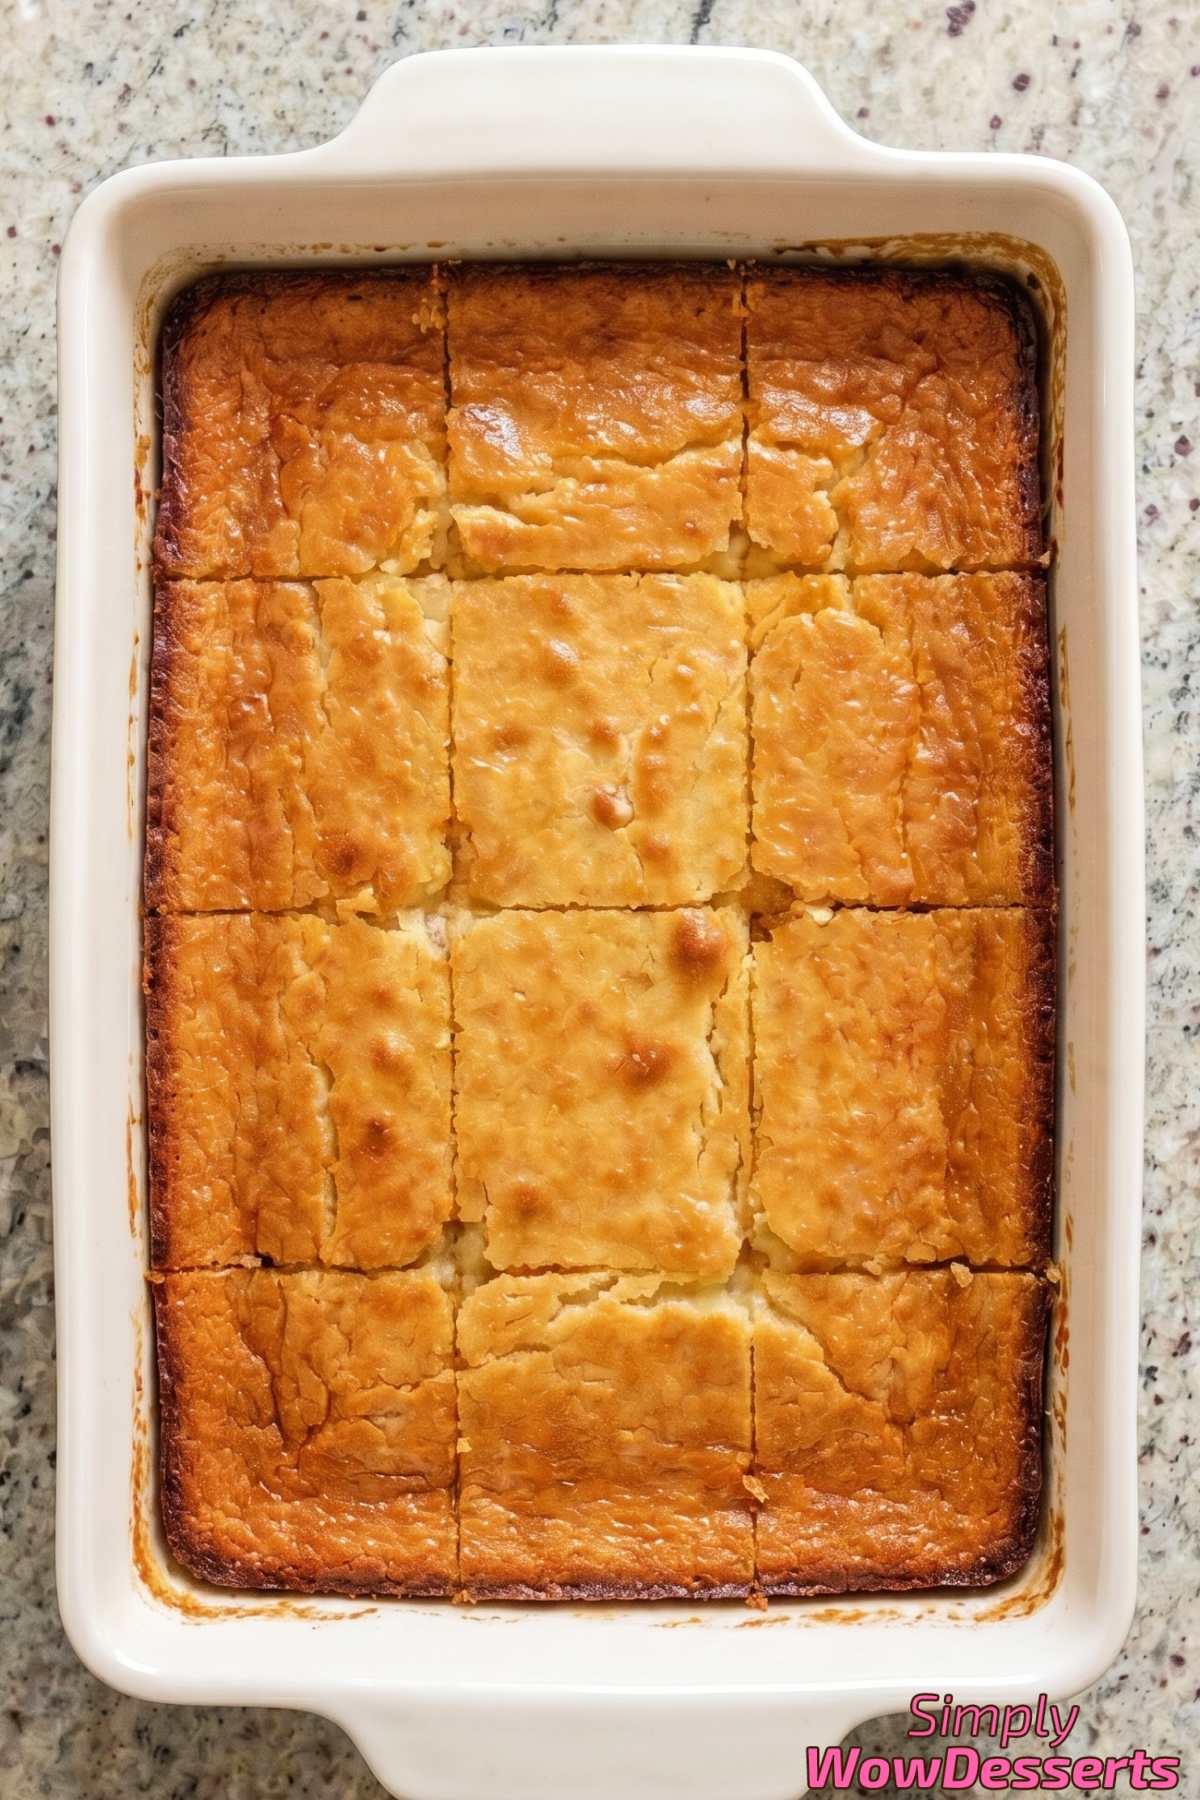
This dessert comes from Hawaii and is a favorite at potlucks and family gatherings. The base is made from sweet rice flour, which gives it that signature chewy bite.
What I love about this recipe is how simple it is. You mix the dry ingredients, mix the wet ingredients, combine them, and bake. No fancy techniques needed.
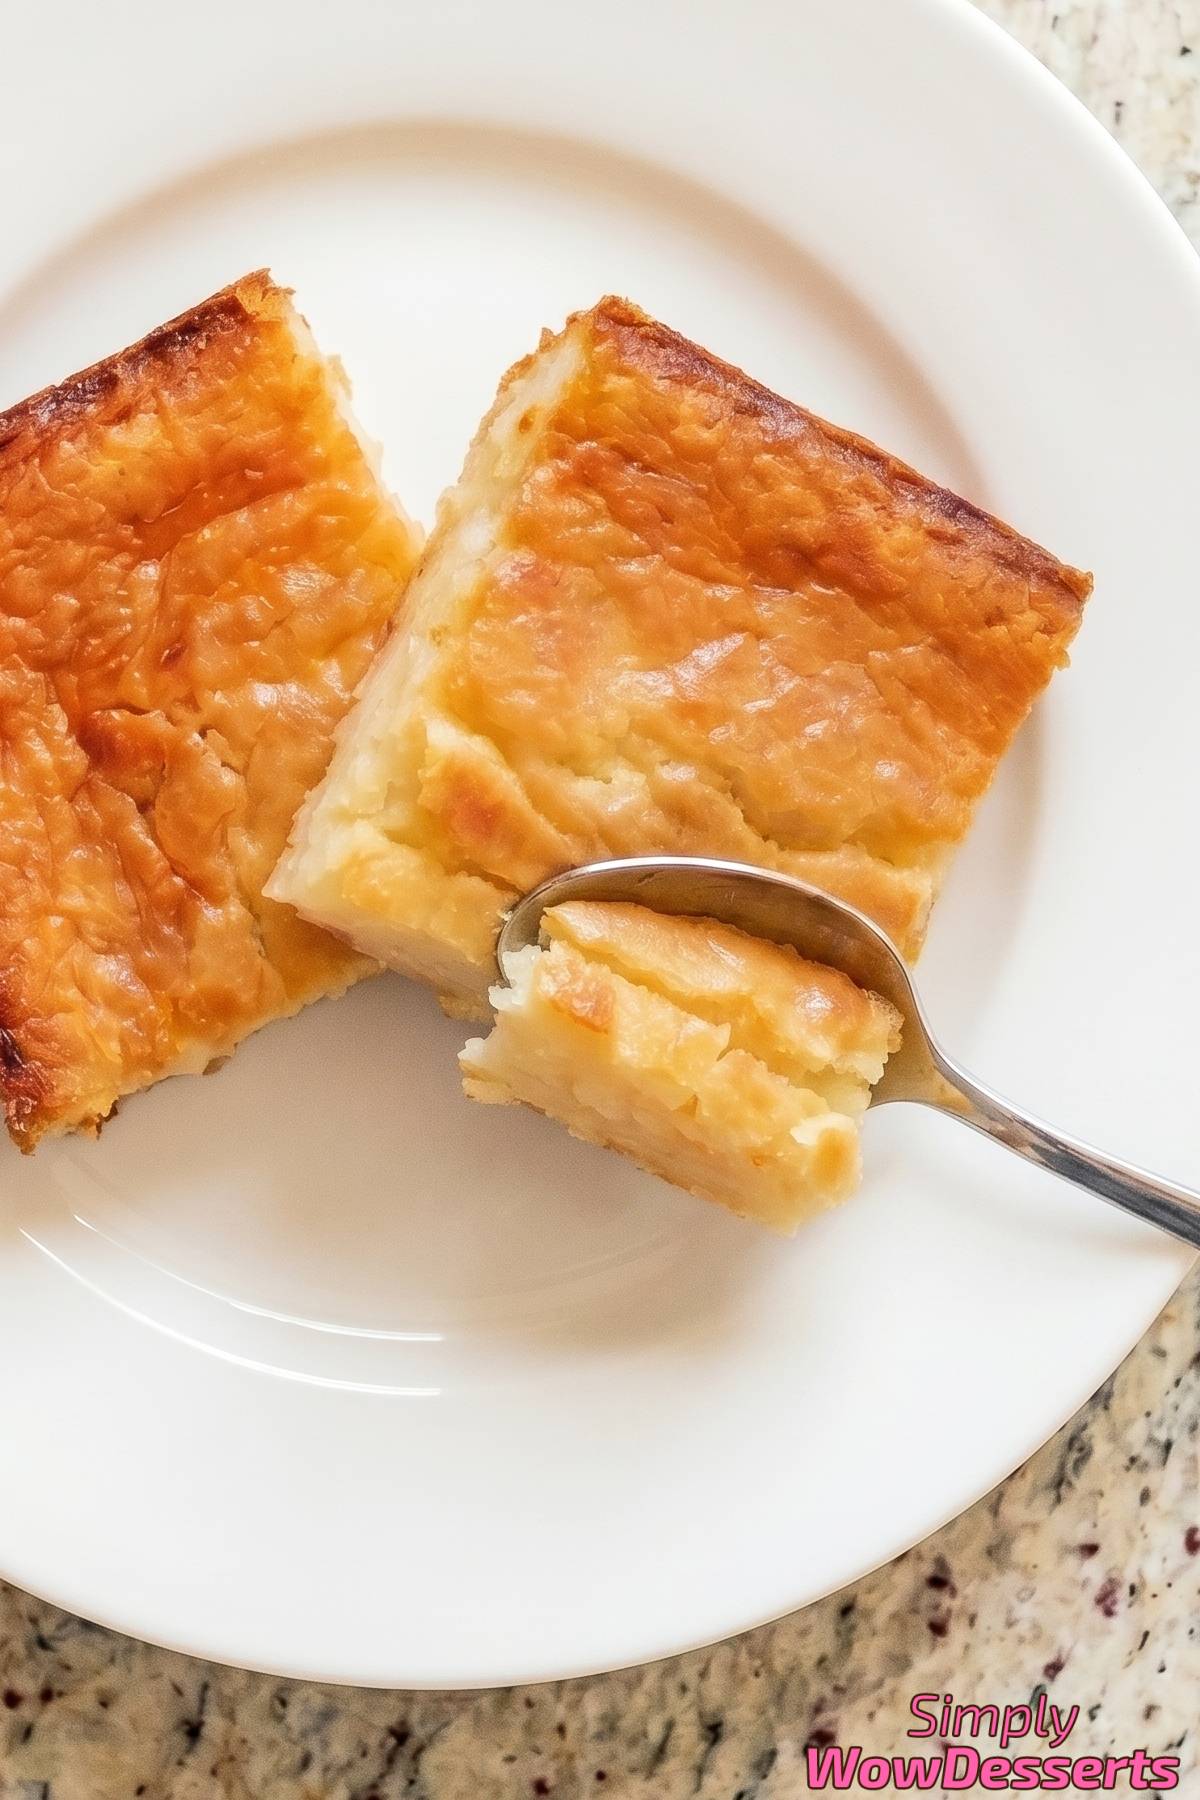
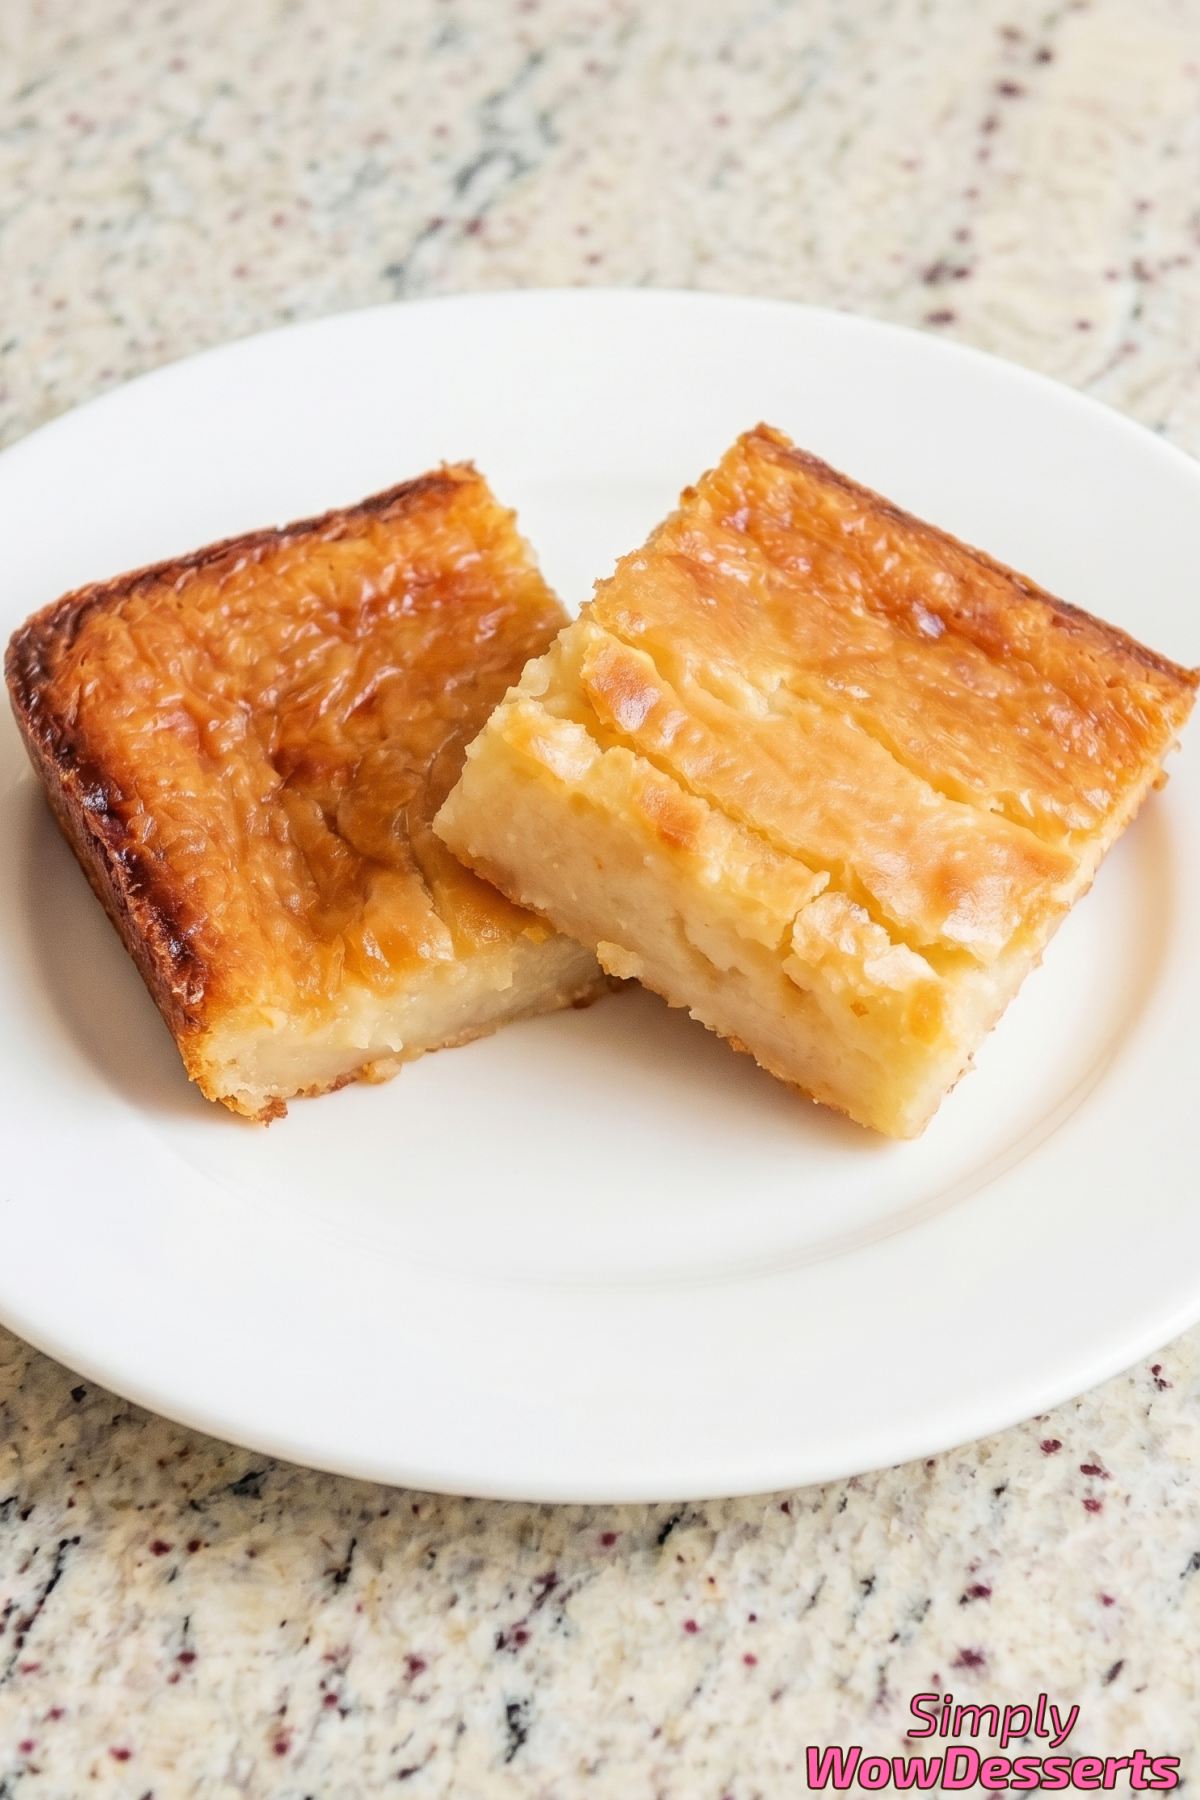
The flavor is buttery and sweet with a nice coconut taste from the coconut milk. It is rich but not too heavy, and one square is usually just enough.
If you have never tried mochi style desserts before, this is a great place to start. It bakes up golden on top with soft, chewy squares underneath.
Why You’ll Love It
Signature Chewy Texture – The mochiko flour gives this dessert that bouncy, chewy bite you can’t get from regular cake.
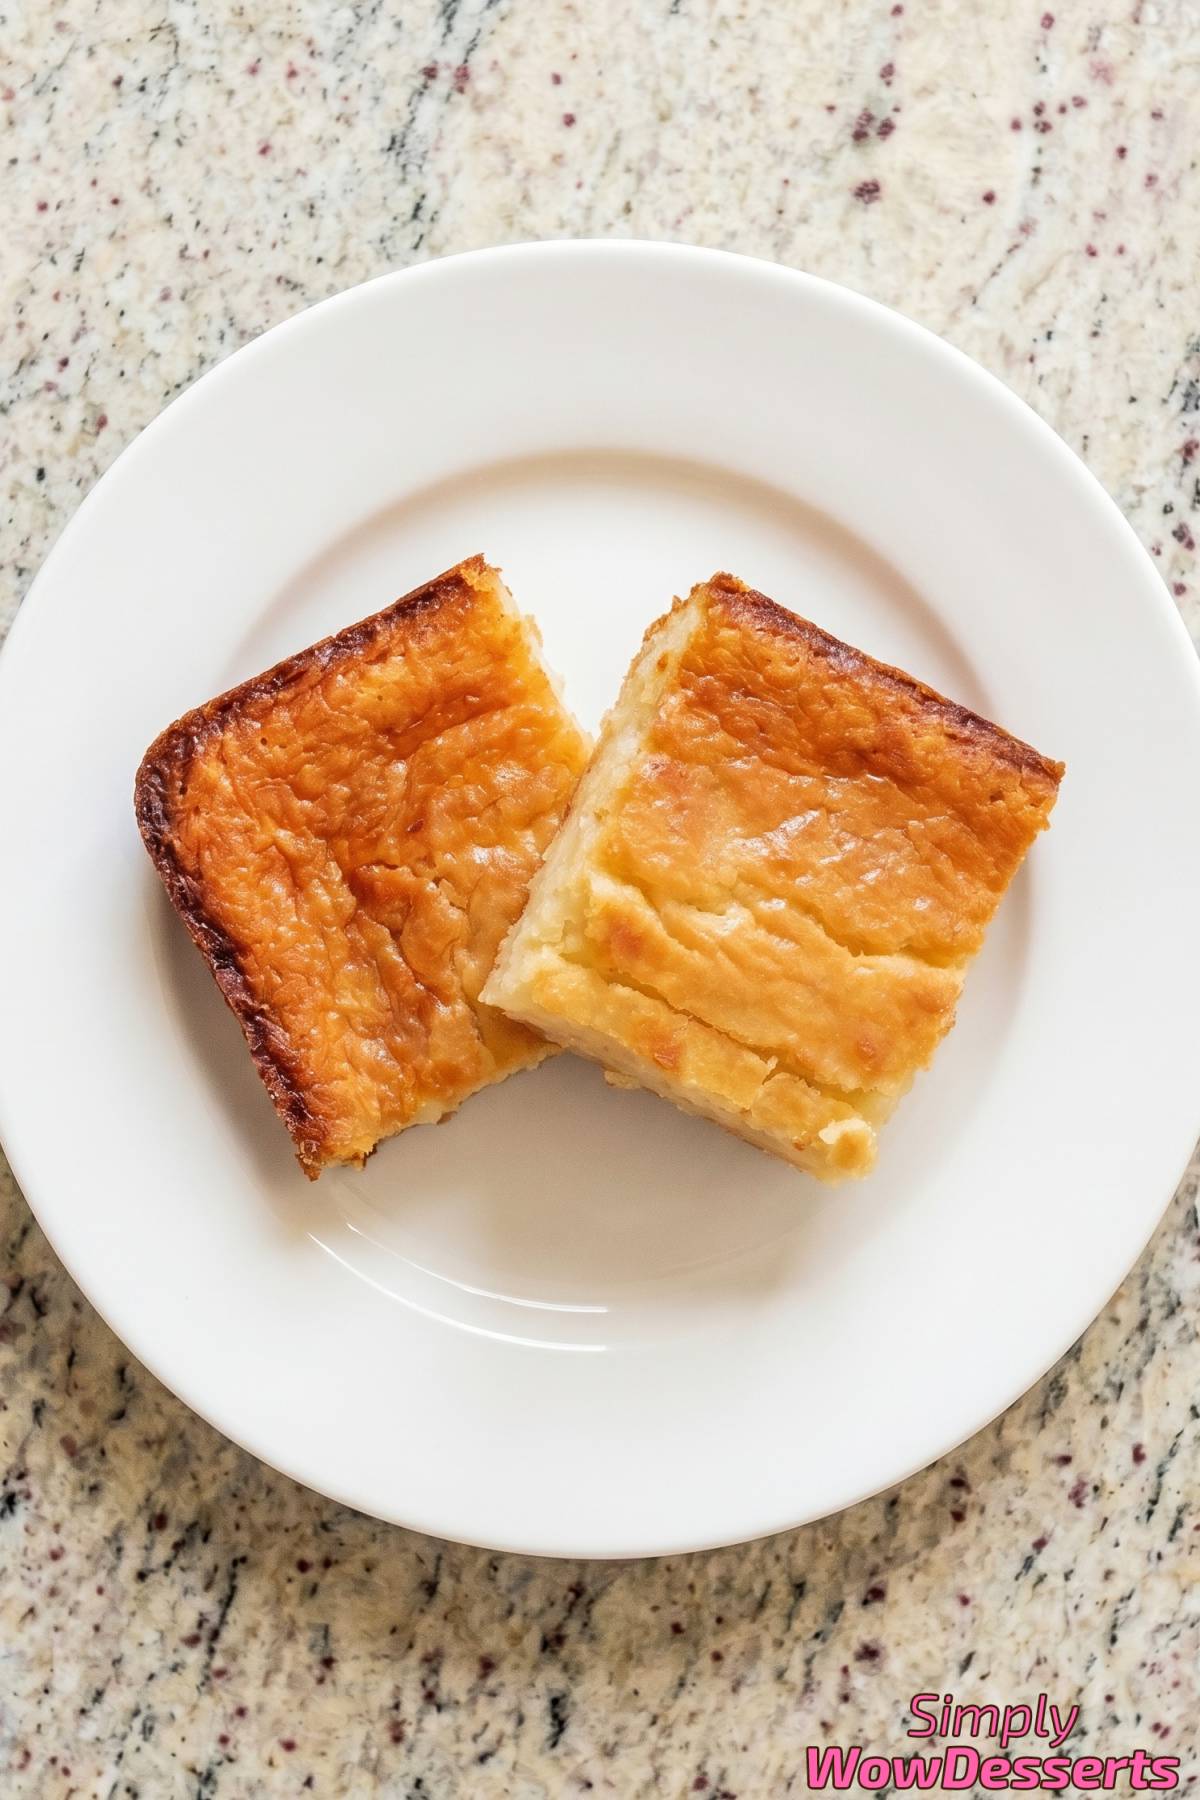
Naturally Gluten Free – Sweet rice flour replaces wheat flour completely so anyone avoiding gluten can enjoy it.
Double Coconut Richness – Two full cans of coconut milk soak into every bite for a creamy tropical flavor.
Recipe Ingredients
- 16 oz Mochiko Sweet Rice Flour (1 box)
- 2 cups Granulated Sugar
- 1 tsp Baking Powder
- 2 (13.5 oz) cans Full-Fat Coconut Milk
- 5 large Eggs
- 1/2 cup Unsalted Butter (melted and slightly cooled)
- 1 tsp Vanilla Extract
Directions
Step 1
Preheat your oven to 350°F (175°C). Grease a 9×13 inch baking pan generously with butter or nonstick spray.
Step 2
In a large bowl, whisk together the mochiko sweet rice flour, granulated sugar, and baking powder until evenly combined.
Step 3
In a separate bowl, whisk the eggs, then add both cans of coconut milk, melted butter, and vanilla extract. Whisk until smooth.
Step 4
Pour the wet ingredients into the dry ingredients and stir until you have a smooth, thin batter with no lumps. The batter will be very liquid, and that is exactly right.
Step 5
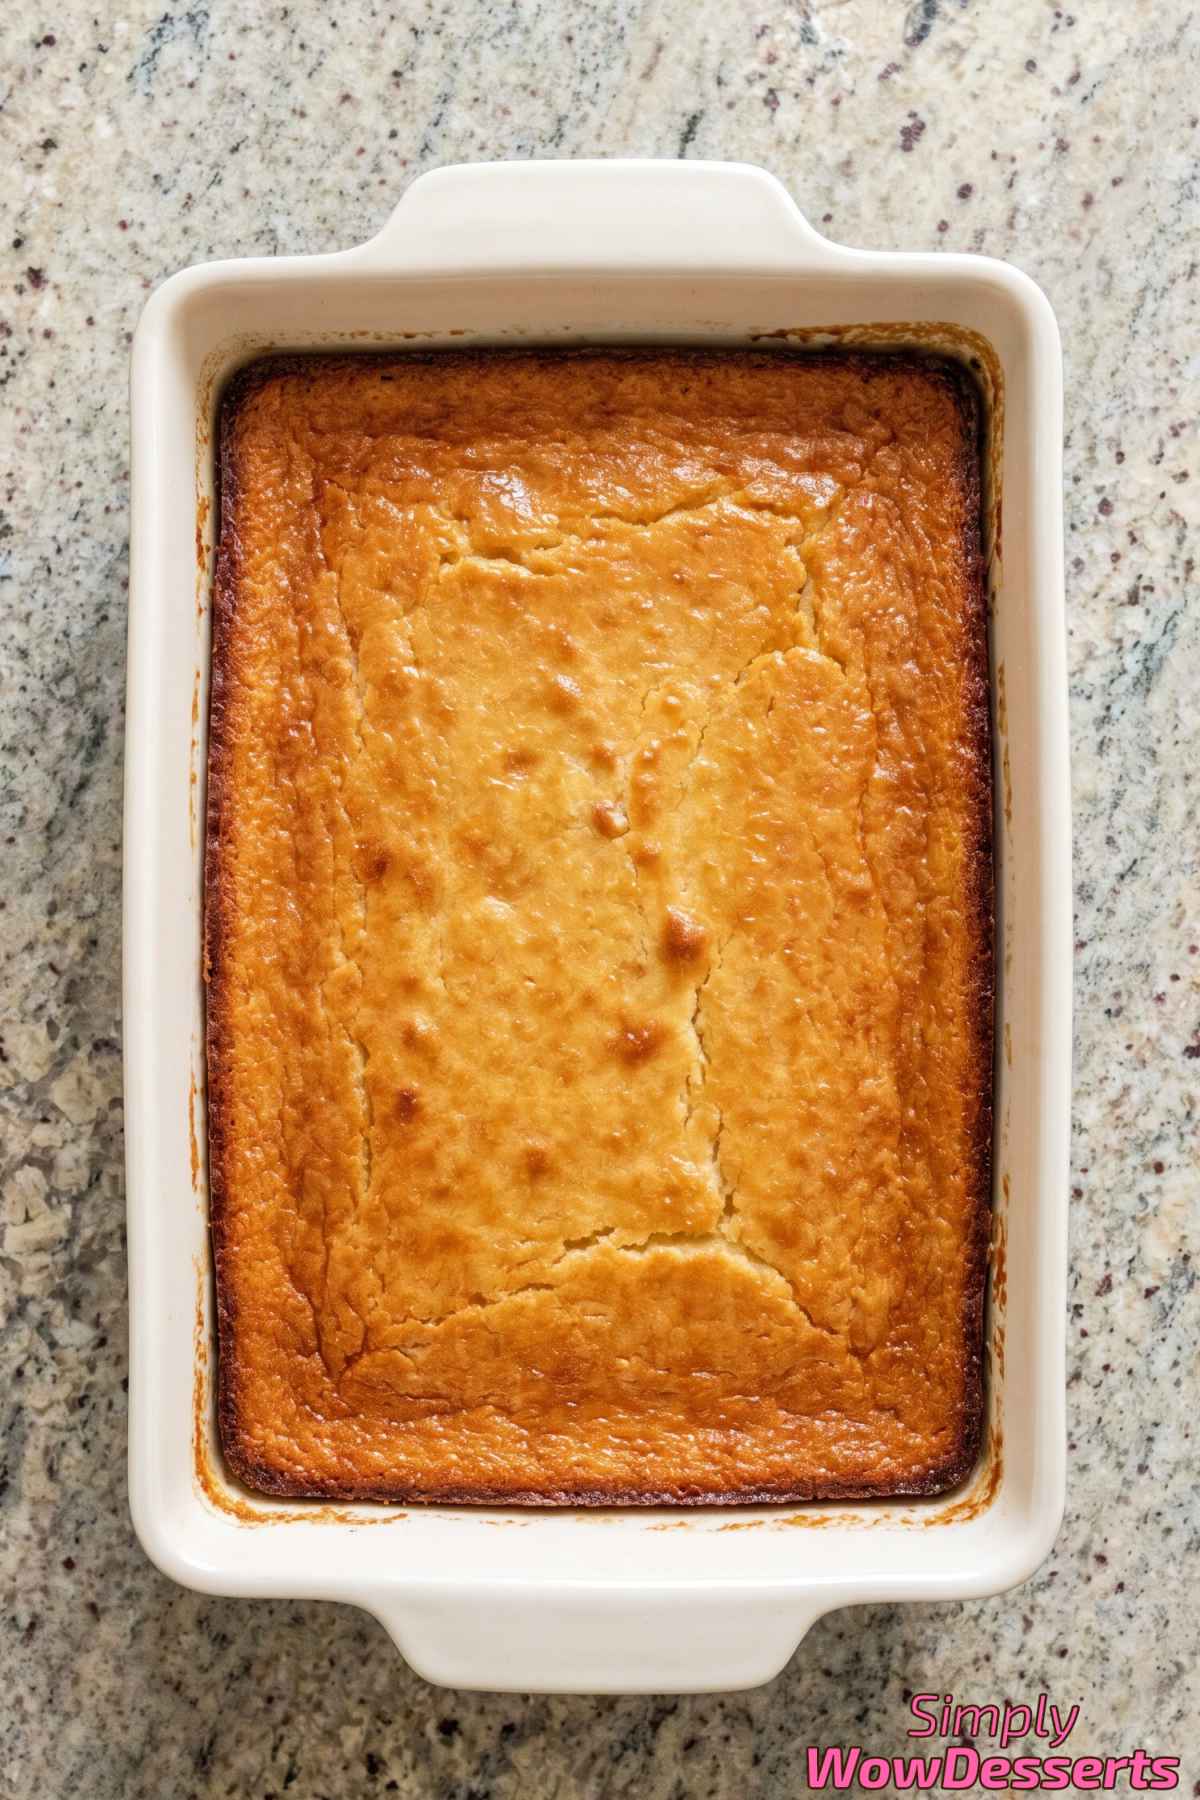
Pour the batter into the prepared pan. Bake for 55 to 65 minutes until the top is golden brown and a toothpick inserted in the center comes out clean. The edges should be slightly darker and pulling away from the pan.
Step 6
Let the butter mochi cool completely in the pan, at least 2 hours. It will firm up as it cools and develop that signature chewy, dense texture. Cut into squares and serve at room temperature.
My Tips
Shake the Coconut Milk Cans Well
Full-fat coconut milk separates inside the can, with thick cream on top and watery liquid on the bottom. If you just pour it in without mixing, your batter will be uneven and some bites will taste oily while others taste bland.
Shake each can hard for about 30 seconds before opening. If it still looks separated, whisk it in a bowl until smooth before adding it to your egg mixture.
Use Mochiko Brand Specifically
The recipe calls for Mochiko sweet rice flour, and you really do want that exact brand in the blue box. Regular rice flour or other glutinous rice flour brands have different grinds and will give you a totally different texture.
Mochiko has a finer texture that gives butter mochi its signature chewy, stretchy bite. You can find it in the Asian section of most grocery stores or order it online.
Make Sure Your Butter Isn’t Hot
The melted butter needs to cool down for a few minutes before you add it to the eggs and coconut milk. If it’s still hot, it will start cooking the eggs the moment they touch, and you’ll get scrambled bits in your batter.
Melt the butter first thing when you start, then set it aside while you measure everything else. By the time you need it, it should be warm but not hot to the touch.
More Recipes
- Mango Coconut Sticky Rice Cake
- Ube Crinkle Cookies
- Black Sesame Cheesecake Bars
- Matcha White Chocolate Cookies
- Japanese Souffle Pancakes
Frequently Asked Questions
Can I use regular rice flour instead of mochiko?
No, regular rice flour will not work here because it does not have the same sticky, chewy quality that mochiko (sweet glutinous rice flour) gives this dessert.
If you cannot find Mochiko brand, look for any glutinous or sweet rice flour at an Asian market or in the international aisle. Just make sure the package specifically says glutinous or sweet rice flour.
Butter Mochi
Equipment
- 9x13 inch baking pan
Ingredients
- 16 oz Mochiko Sweet Rice Flour (1 box)
- 2 cups Granulated Sugar
- 1 tsp Baking Powder
- 2 cans Full-Fat Coconut Milk (13.5 oz each)
- 5 large Eggs
- 1/2 cup Unsalted Butter (melted and slightly cooled)
- 1 tsp Vanilla Extract
Instructions
- Preheat your oven to 350°F (175°C). Grease a 9x13 inch baking pan generously with butter or nonstick spray.
- In a large bowl, whisk together the mochiko sweet rice flour, granulated sugar, and baking powder until evenly combined.
- In a separate bowl, whisk the eggs, then add both cans of coconut milk, melted butter, and vanilla extract. Whisk until smooth.
- Pour the wet ingredients into the dry ingredients and stir until you have a smooth, thin batter with no lumps. The batter will be very liquid, and that is exactly right.
- Pour the batter into the prepared pan. Bake for 55 to 65 minutes until the top is golden brown and a toothpick inserted in the center comes out clean. The edges should be slightly darker and pulling away from the pan.
- Let the butter mochi cool completely in the pan, at least 2 hours. It will firm up as it cools and develop that signature chewy, dense texture. Cut into squares and serve at room temperature.